This plant will grow in almost anything. But if you want it to actually look good, you need to understand what it wants. The gap between alive and thriving is lighting, nutrients, and consistency.
Any plant stays alive. Making it look good takes understanding.
Any plant stays alive. Making it look good takes understanding.
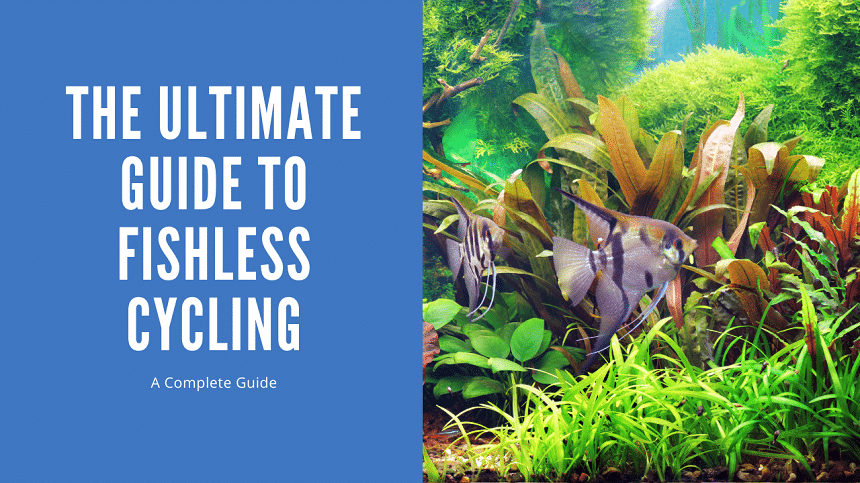
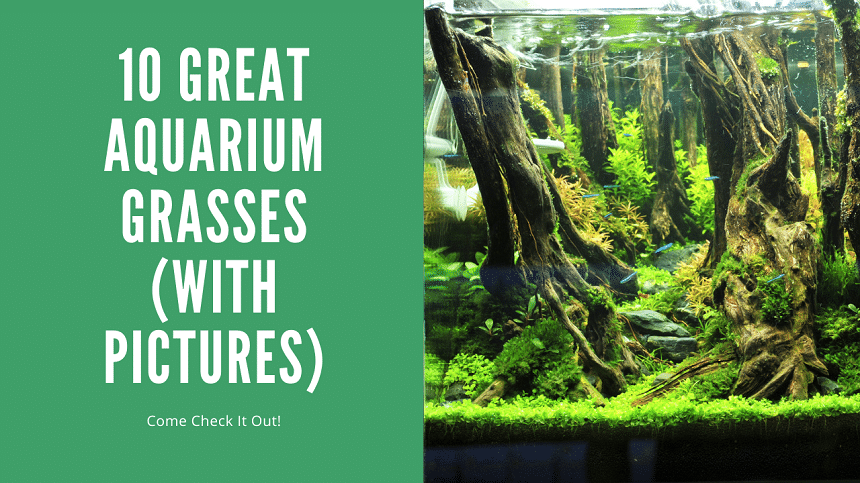
A lush grass carpet is one of the most striking things you can achieve in a planted aquarium. I’ve attempted it multiple times over my 25 years in the hobby and I can tell you the species choice and setup make all the difference. Some aquarium grasses are genuinely beginner-friendly, while others demand CO2, high light, and careful trimming to stay dense. This guide covers the best grass species I’ve grown and the honest care requirements for each so you can pick the right one for your setup.
The Benefits
Like all aquatic plants, aquarium grass plants provide a huge range of benefits to your aquarium pets. Firstly, carpeting plants create an awesome habitat that bottom-dwelling fish love to explore and hide in.
Aquarium plants also oxygenate the water and use up excess nutrients and nitrates from uneaten food and fish waste. In this way, they can prevent algae growth by out-competing the algae for nutrients.
Apart from the benefits for the health of your tropical fish, a green bushy carpet at the bottom of the tank just looks amazing and adds that wow factor to any aquarium layout.
Aquascaping With Them
Aquarium grass and carpeting plants form the cornerstone of many of the most incredible freshwater aquascapes. You’ll find these plants in everything from picturesque, minimalist Iwagumi style layouts to wild-looking nature aquariums, and even carefully ordered Dutch-style planted tanks.
Carpeting plants are super useful for the foreground of your tank because they tend to stay low and is gradually replaced by taller plants towards the back of the layout. Some species grow taller and make interesting specimen plants for the midground of your tank, especially when grown in tight clumps.
Other plants like the Vallisneria grow really tall and make awesome background plants. These plants create that densely planted jungle feel and is very handy for hiding hardware like heaters and airlines.
10 Best Aquarium Grass Species
With the huge range of aquatic plants available in the hobby, picking out the right aquarium plant species for your tank is pretty tricky. That’s why I’ve put together this list of my top 10 favorite aquarium grass plants to make your life a lot easier. For each species, I’ll provide vital information like:
- Scientific Name
- Skill Level
- Size
- Lighting
- Tank Placement
- Growth Rate
- CO2 Requirement
Check out the video below from our YouTube Channel. We go over this in more detail in our blog post below. If you like our content, be sure to subscribe, as we have new videos we publish every week.
So let’s get started!
1. Dwarf Hairgrass
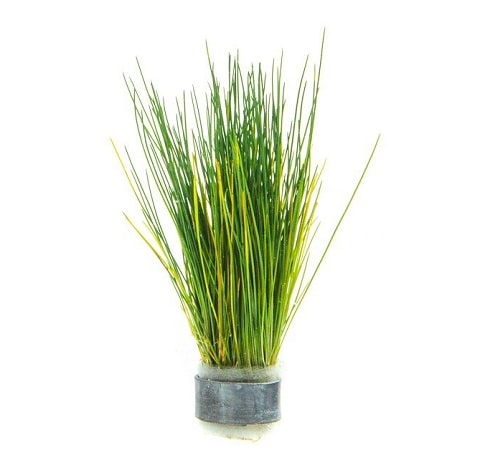
Dwarf hairgrass is an easy to grow carpet that is great for beginners. Purchase tissue culture plants to ensure pest free plants!
- Scientific Name: Eleocharis pusilla
- Skill Level: Easy
- Size: 2-3 Inches
- Lighting: Moderate
- Tank Placement: Carpet, Foreground, Midground
- Growth Rate: Moderate
- CO2 Requirement: Yes
Dwarf Hairgrass is the first plant that comes to mind when discussing aquarium grass plants and that’s why it’s the first species on my list! This Australasian plant is easy to grow under moderate light and looks amazing as a carpet in minimalistic aquascapes like Iwagumi.
Dwarf Hairgrass grows best in an aquarium soil substrate but can also work great in fine gravel or sand substrate enriched with root tabs. It is possible to plant Dwarf Hairgrass in a low-tech setup without CO2 but to achieve a dense carpet, you’re going to want a controlled supply of this important gas.
2. Dwarf Sagittaria
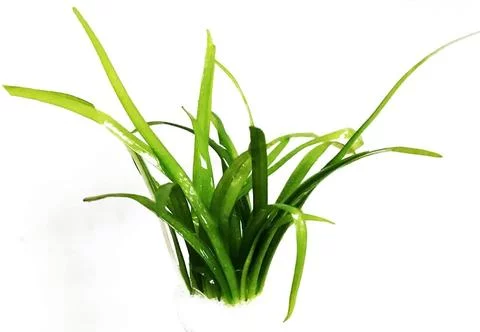
A hardy and easy to grow ground cover aquarium plant. Does not need CO2 to thrive
- Scientific Name: Sagittaria subulata
- Skill Level: Easy
- Size: 4-12 Inches
- Lighting: Moderate-high
- Tank Placement: Carpet, Foreground, Midground, Background
- Growth Rate: Moderate/Fast
- CO2 Requirement: No, recommended
Dwarf sag is a marsh plant from the Americas that looks amazing in freshwater aquariums. It is not a true grass but with its long narrow leaves, this plant makes a fantastic specimen plant or even a lush carpet option.
, this popular aquarium plant grows to about 6 inches and is perfect for the midground in most tanks. Dwarf Sagittaria likes high lighting and will grow best with added CO2.
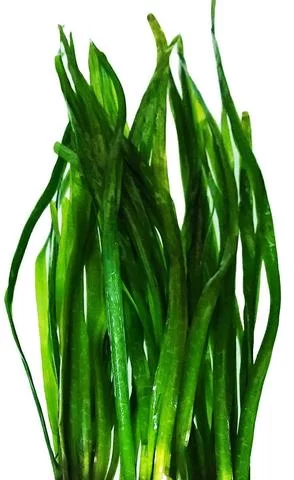
3. Vals Nana
One of the easiest background placement aquarium plants that can be kept. Provides excellent shelter for fish
- Scientific Name: Vallisneria nana
- Skill Level: Moderate
- Size: 12-20 inches
- Lighting: Moderate-High
- Tank Placement: Background
- Growth Rate: Fast
- CO2 Requirement: Recommended
Vals Nana is a great grass plant for the background of your aquarium. This plant grows fast, and is not suitable for trimming into a lawn, but should rather be used to get a tall, wild grass-type look.
Vals nana looks similar to Hairgrass will grow taller and can make a very effective green backdrop to a nature-style aquascape.
4. Eleocharis Belem

Shorter than dwarf grass and with a curly shape, this aquarium grass offers good looks with less maintenance than other grass
- Scientific Name: Eleocharis sp.
- Skill Level: Easy
- Size: 2-3 inches
- Lighting: Moderate
- Tank Placement: Carpet, Foreground
- Growth Rate: Moderate
- CO2 Requirement: Recommended
This popular Hairgrass form is similar to the well-known Dwarf Hairgrass. This aquatic plant differs in its slightly more curly leaf shape and smaller size. Eleocharis Belem makes a wonderful carpet, especially if you provide it with good light and added CO2.
5. Narrow-leaf Micro Sword

A mid-ground plant that is fast growing and easy to grow
- Scientific Name: Lilaeopsis mauritiana
- Skill Level: Easy
- Size: 1-2.5 inches
- Lighting: Moderate-High
- Tank Placement: Foreground
- Growth Rate: Slow
- CO2 Requirement: Recommended
Narrow-leaf Micro Sword is a tropical aquarium plant from the island of Mauritius. This aquatic plant grows slowly and stays small, between 2 and 4 inches in height.
This makes it a great low-maintenance carpet plant. Good quality light and injected CO2 will help these plants grow faster.
6. Pygmy Chain Sword

A low growing grass light that produces red hues in CO2 and fertilizer powered tanks.
- Scientific Name: Helanthium tenellum
- Skill Level: Easy
- Size: 3-4 inches
- Lighting: Moderate
- Tank Placement: Carpet, Foreground, Midground
- Growth Rate: Moderate
- CO2 Requirement: No
This low-growing, easy plant from the Americas was previously thought to be a species of Echinodorus. The narrow-leaf variety looks very much like a grass plant, and there is a slightly larger broad-leaved variety available as well.
Under high light, with fertilizer and CO2, the grass-like narrow-leaved form can take on a unique deep red tone that really stands out. These plants are also known as Dwarf Chain Swords.
7. Dwarf Four-leaf Clover

A round leaf plant that can grow as a carpeting plant. Best grown with CO2 and stronger lighting
- Scientific Name: Marsilea hirsuta
- Skill Level: Easy
- Size: 1 inch
- Lighting: Moderate-High
- Tank Placement: Carpet, Midground, Foreground
- Growth Rate: Slow-Moderate
- CO2 Requirement: No, recommended
Dwarf water clover has round leaves and might not look much like grass when you take a close look at it. It makes an awesome bright green carpet for the floor of the planted tank though. This plant is easy to grow and works well in a smaller tank.
If you want that really short, lawn look, however, you’re going to need good light and injected CO2. Under lower light, this aquatic plant grow a bit tall and thin.
8. Glosso

A beautiful carpeting plant that is best suited for advanced aquascapers. Grows fast and requires CO2
- Scientific Name: Glossostigma elatinoides
- Skill Level: Moderate-Advanced
- Size: 1-2 inches
- Lighting: High
- Tank Placement: Carpet, Foreground
- Growth Rate: Fast
- CO2 Requirement: Yes
This beautiful lawn plant from New Zealand is quite a challenge to grow but is an awesome plant for experienced aquarists. It needs a lot of light and access to CO2 to keep it growing low and tight. In the wrong conditions, Glossostima plants tend to grow tall and thin, which isn’t a great look.
9. Dwarf Baby Tears
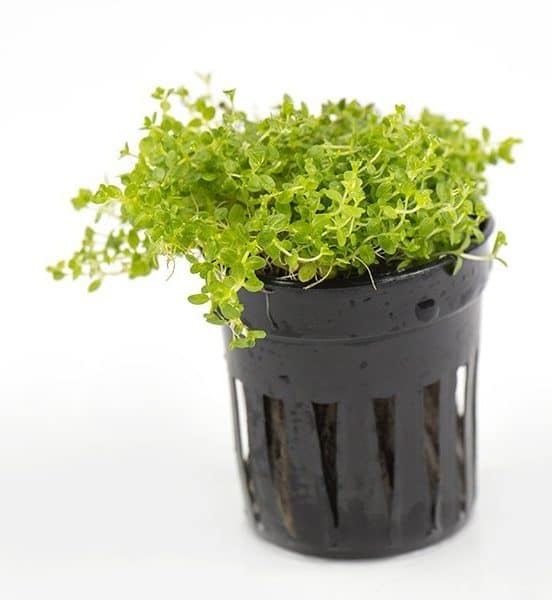
One of the easier carpeting plants available for planted tanks.
- Scientific Name: Hemianthus callitrichoides
- Skill Level: Moderate-Advanced
- Size: 1-2 inches
- Lighting: High
- Tank Placement: Carpet, Foreground, Midground
- Growth Rate: Moderate-Fast
- CO2 Requirement: Yes
Dwarf Baby Tears is a Cuban plant that is very popular with experienced aquarists who want a very short, tight carpet. Dwarf Baby Tears is tricky for beginners because they need high lighting, CO2, good nutrients, and water flow to stay healthy.
Regular trimming is also necessary to keep the lower parts of the plant healthy. Dwarf Baby Tears is probably the ultimate carpet plant, are you ready for the challenge?
10. Monte Carlo
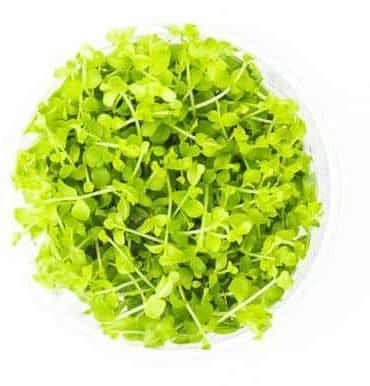
Tissue culture plants are grown in labs and are completely pest free and have great shelf lives
- Scientific Name: Micranthemum tweediei
- Skill Level: Easy-Moderate
- Size: 1-2 inches
- Lighting: Moderate
- Tank Placement: Carpet, Foreground, Midground
- Growth Rate: Moderate-Fast
- CO2 Requirement: Yes
Micranthemum ‘Monte Carlo’ is a popular Argentinian aquarium plant that looks similar to the previous species, but is a more hardy plant. These bright green carpet plants stay low and spread into a lovely green lawn if you provide them with enough light and CO2.
It is even possible to grow Monte Carlo plants over rocks and other features in the aquarium as their root system doesn’t necessarily need access to soil.
Tank Setup
If you want to grow grass carpet plants in your aquarium, you’ll want to make sure you’re set up for success from the start. Let’s take a look at what you’ll need!
Lighting
A good light source is one of the most important keys to success when it comes to growing aquarium grass plants. Although most of the species on this list could technically survive under low light, they will not thrive in these conditions. If you want to grow a dense, short carpet of living plants, high light is the best way to go.
Medium light is also a good option for many plants, especially if you are OK with taller, thinner plants with a slower growth rate. LED and fluorescent lamps are both great options, but whatever light intensity you choose to run, make sure you pick one with a Kelvin rating of 5500-6500.
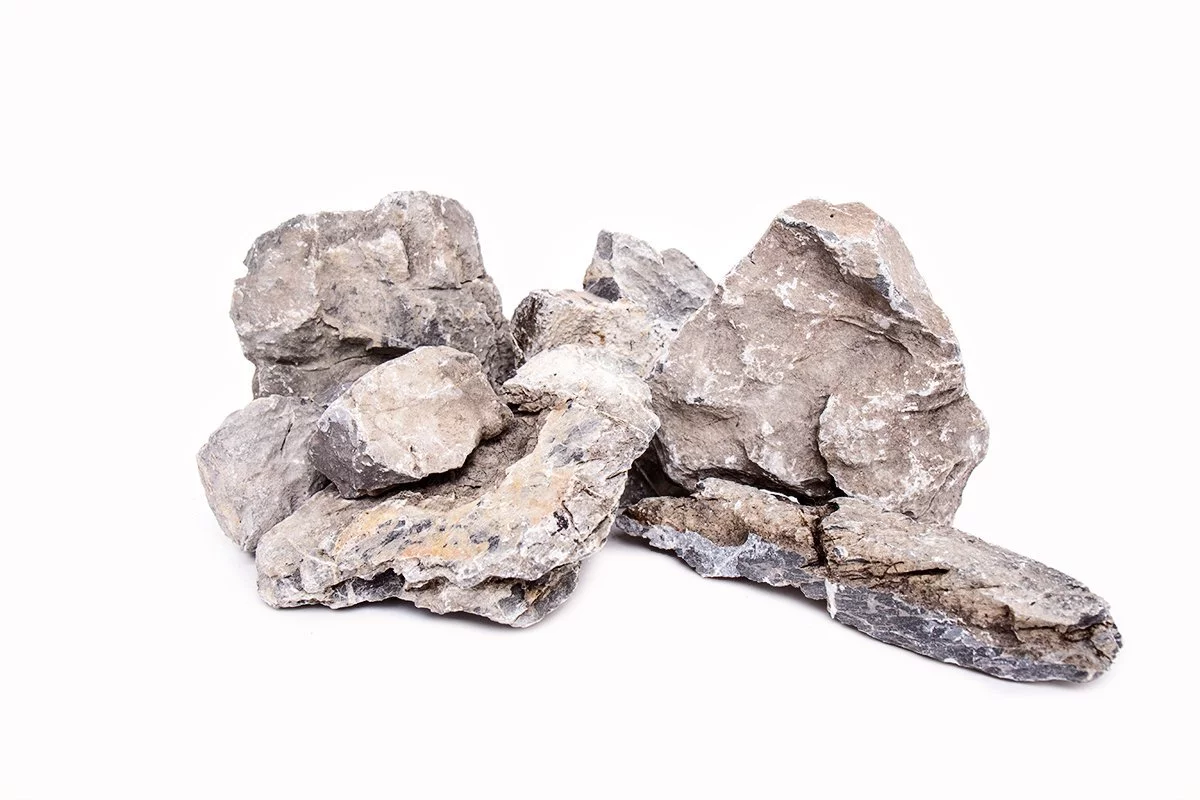
Substrate
Almost all aquarium grass and carpet plants need substrate to grow. Some plants like Java Moss and Monte Carlo is grown to look like grass if attached to the hardscape though.
A nutrient-rich plant substrate is the best way to go. I would advise starting out with a good-quality aquarium soil. If you prefer to use an inert substrate like pool filter sand, it is possible to feed the plant’s roots with fertilizer tabs.
CO2 Injection
Along with light, water, and nutrients, Carbon dioxide is essential for all plants to live and grow. This gas occurs naturally in your aquarium water, but for many plants, the levels are just too low for healthy growth.
Pretty much all aquarium plants grow best with increases CO2 levels, so if you want to get more serious about growing aquatic carpet plants, I would definitely suggest setting up a pressurized CO2 injection system.
It’s not that you can’t grow a carpet without CO2, it just gets very difficult to get good results because the plants will not spread and cover the bottom in the way you want.
Carbon dioxide is poisonous to your livestock at concentrations of over 30 ppm so make sure you set up a bubble counter and a drop checker to get your levels right and keep them running stable every day. If you are in the market for a quality CO2 system, I recommend the CO2Art brand.

Use Offer Code ASD10%Off
The highest end offering by CO2Art. This package includes everything you need to perform consistent and the highest quality CO2 injection in the industry!
Your aquarium plant will only be able to use Carbon dioxide while the lights are on, so make sure to set your injection system on a timer that starts up about 2 hours before your lights go on, and then shuts off again at the same time as your lights go off. The early start is to allow the gas to build up to the right concentrations so the plants are ready to grow as soon as the lights come on.
Filtration & Water Quality
A good quality filter is one of the most important pieces of hardware in any type of aquarium. Not only do filters keep the water in your tank looking great, but they are also vital for maintaining great water quality.
The filter media in a mature cycled aquarium houses special beneficial bacteria that turn the harmful toxins in fish waste into nitrates. This keeps your fish healthy and creates an excellent natural source of nutrients for your plants!
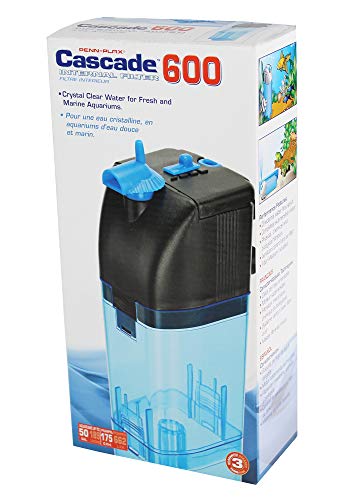
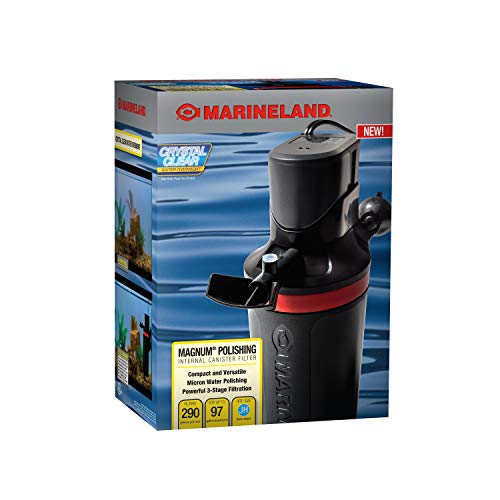
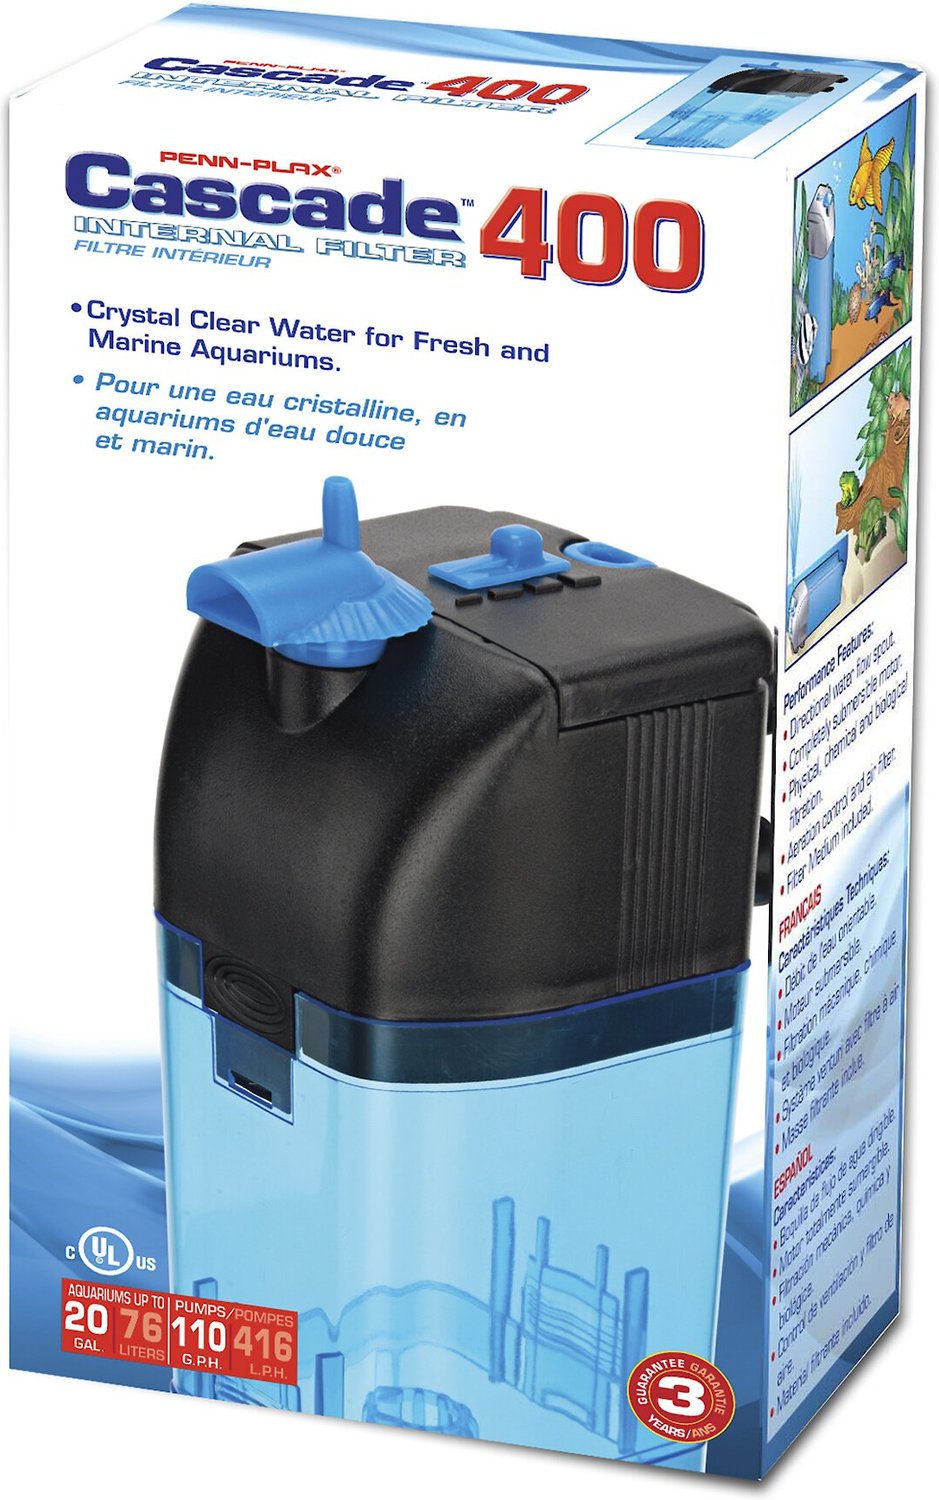
For a tank with a serious grass carpet, I recommend a top quality canister filter. Canister filters have the media capacity to handle the increase bioload of plant waste for large planted tanks and aquascapes.
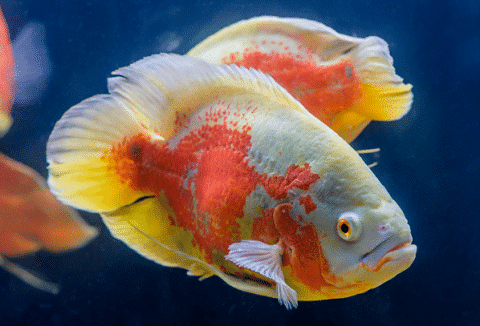
Tank Mates
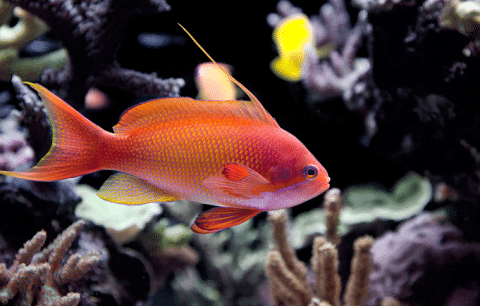
Grass and carpet plants provide a great natural habitat that bottom-dwelling fish love to explore. Most tropical fish make perfect tankmates for these plants, as long as they enjoy the same water temperature and parameters. There are a few types of fish that will not get along peacefully with your plants though, so here’s a short list of fish to avoid:
- Silver Dollars
- Goldfish
- Oscars and other large cichlids
- Buenos Aires Tetras
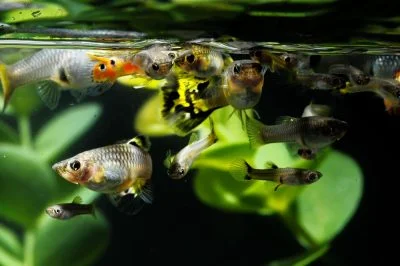
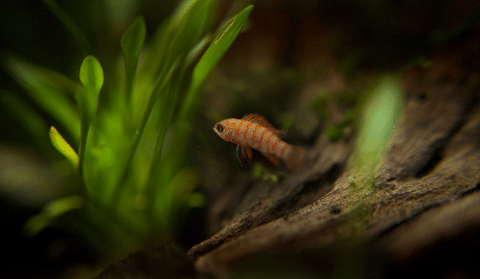
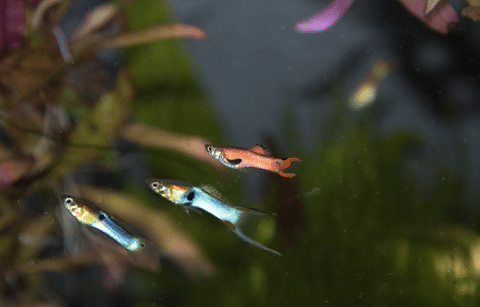
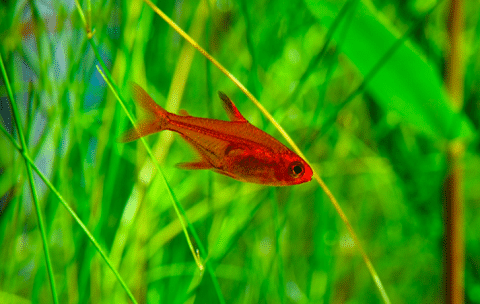
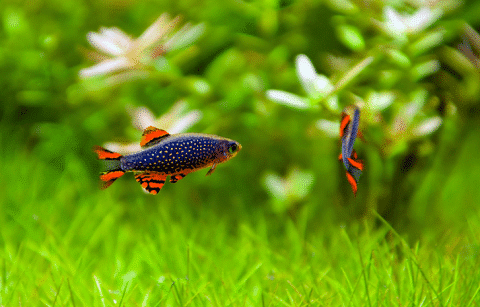
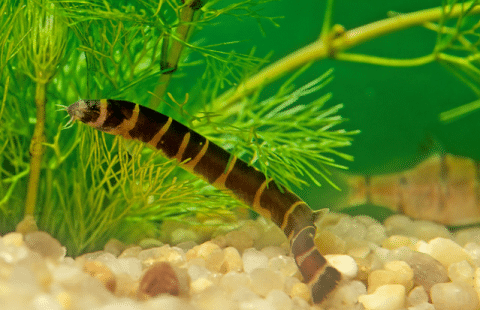
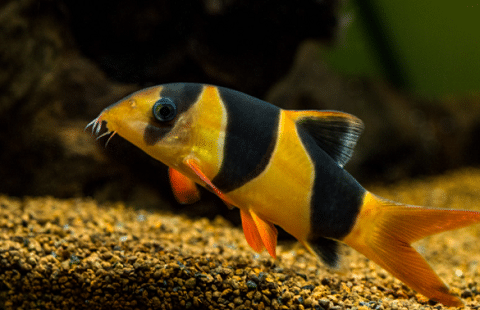
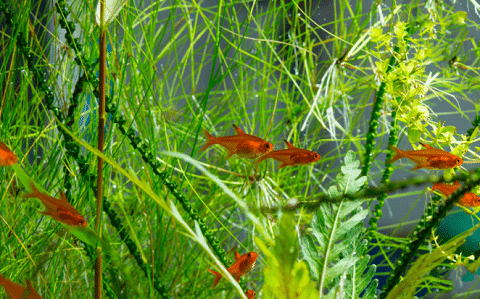
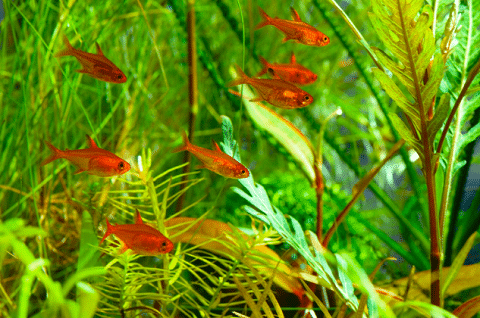
The best fish for grass and really any type of planted tank are going to be nano fish. These small fish do well in planted tanks because they like to school, they are peaceful, and will not eat your plants. Several examples of these fish would be:
How To Grow
Turning a small pot full of aquarium grass plants into a dense carpet at the bottom of the tank is difficult if you don’t know a few tricks. Read on how to learn the secrets to success!
The Dry Start Method
Some of the small aquarium grass plants will be much easier to grow using the dry start method, especially if you plan on growing a carpet. The dry start method involves setting up your aquarium, complete with substrate and hardscape, but then only adding enough water to saturate the soil.
The plants are then planted and allowed to grow and develop healthy root systems until they are firmly attached rooted in the substrate. This can make life a whole lot easier because tiny plants tend to wash loose and drift around in tanks that are already filled with water. Here is a video by JJ Aquariums for a visual.
This technique is recommended for growing beautiful carpets and works really well with tiny plants like Dwarf Baby Tears, Monte Carlo, Dwarf Four-leaf Clover, and Dwarf Hair Grass. One very important point to remember is that not all plants will survive a dry start. Some aquarium plants like Vallisneria can only be grown submerged under the water.
Spacing & Propagation
Planting on a grid is the best way to grow a carpet of aquarium grass plants, without spending a ton of money on enough plants to cover up the bottom of the tank. To do this, separate your tissue culture plants into as many sections as possible. Each section should be a complete plant with some healthy leaves and roots.
Plant each one out at equal distances from its neighbor. A distance of about 0.5-1 inches will work, but obviously, the closer the spacing, the faster the plants will fill in. Use your aquascaping tweezers or pincettes to gently push each plant into the substrate, leaving a little bit above the soil surface.
Aquarium grass plants are very easy to propagate because they spread laterally. Trimming the plants often speeds up their spread, and with the right light, access to nutrients, and CO2, you can get really good results. You can take cuttings at any time to replant elsewhere in your tank, just make sure they have some roots and leaves.
Fertilization
Fertilizer is a big deal when it comes to growing aquarium grasses. Because of their faster growing nature, they tend to consume nutrients fast and will need supplementation.. You will want an aquarium fertilizer designed for planted tanks. Not all fertilizers are designed for planted tanks and aquascapes as some tend to be newbie friendly.
If you are attempting a carpet, you will want to go with a fertilizer like APT Complete. This fertilizer is designed for aquascapers and serious planted tank enthusiasts. It’s an all-in-one fertilizer, so the guesswork is taken out for you.

Editor’s Choice
Made by an aquascaper for aquascapers. This is the best all around aquarium plant fertilizer on the market. Marco and micronutrients in one bottle!
Use Coupon Code ASDComplete for 10% off your order!
Trimming
Regular trimming is very important for maintaining a neat and even carpet at the bottom of the tank. Some plants that stay compact won’t need much attention, apart from keeping them to the areas where you want them.
Taller plants like dwarf hair grass can benefit from trimming especially while it is still spreading to cover the floor. Trimming these plants actually stimulates them to put their energy into spreading out laterally, rather than growing tall.
Trimming aquarium grass plants evenly is pretty tricky with a regular pair of scissors. I recommend a sharp pair of curved or double-curved aquascaping scissors for the evenest results.
Be sure to turn off your filter while trimming and allow the trimmings to float to the surface where you can collect them with a small fine mesh net. You can also siphon out any trimmings that may be drifting in the water.
Tank Maintenance
Regular aquarium maintenance is vital for growing healthy aquarium grass and carpeting plants. This means performing regular partial water changes, testing your water parameters, and removing algae when necessary.
Vacuuming is one part of tank maintenance that is especially important when growing this kind of plant. Unfortunately, uneaten food and waste tend to fall and settle around the root zone of carpeting plants.
If this kind of waste collects and causes nutrient levels to rise too high, ammonia spikes can occur, creating a dangerous situation for your pets. To prevent this, make sure you suck up as much waste from the plants as possible with your gravel vacuum when removing water for a water change.
Pests And Other Problems
Pests like snails often find their way into home aquariums on new plants. The best way to avoid introducing pests to your aquarium is definitely to use tissue culture plants.
One of the most common problems we see with grass carpet plants is tall, thin growth, and a stubborn refusal to spread! This is typical of light and carbon dioxide deficiency, so consider upgrading to a more high-tech setup, or choose a plant species with lower light needs to get more bushy growth.
Hair algae is an issue in planted tanks with too much light and nutrients, but not enough CO2. Sometimes a simple fix is to decrease your photoperiod (day length) or add a clean-up crew like Amano shrimp and Otocinclus catfish.
Where To Buy
Aquarium grass plants are popular and pretty easy to find at most good fish stores and through online fish stores. When it comes to buying aquarium grass plants, I definitely suggest starting out with tissue culture specimens that are produced by a sterile process.
FAQS
Which is good for a tank?
Choosing a grass plant for your aquarium is all about your goals for the look of your aquascape, and the kind of equipment you have. Any of the 10 species in this list will work great in your planted tank.
Can I grow it in my fish tank?
Absolutely you can grow grass in your fish tank. Not just any old grass will do though, you will need to plant an aquatic plant like one of the species described in this article.
How long does it take to grow?
Growing speed varies depending on which type of water plants you grow. Regardless of the species though, each type will have a ‘sweet spot’ where the lighting, CO2 levels, and nutrients are perfect for optimum growth.
Can you put fake plants in a tank?
Plastic plants are a quick and easy way to green up aquariums. There are pros and cons to this option, but whatever ornament you choose to use in your fish tank, always be sure that it is aquarium safe.
How do I grow it in my fish tank?
To grow aquatic grass plants, you will need light, nutrients, substrate, and water with the right temperature and parameters. Read through this article to learn everything you need to know about how to grow your own aquarium grass plants.
Final Thoughts
A beautiful aquascape is not complete without some grass and carpet plants. Apart from the obvious aesthetic benefits, these plants are also great for your fish and really satisfying to grow. Use the information in this guide to start growing your very own underwater grass plants. Happy growing!
🌿 Want to learn more? This article is part of our complete Planted Tank & Aquascaping Guide. Your ultimate resource for aquarium plants, aquascaping styles, substrates, and more.