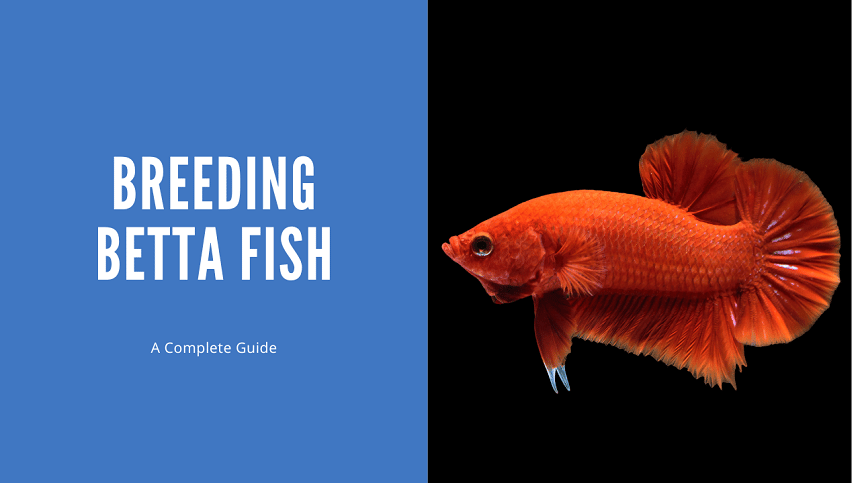
Breeding bettas is one of those projects that looks simple on paper until you’re watching a male tear apart a female before she’s ready to spawn. I’ve bred bettas a few times over the years and the bubble nest ritual never gets old. but you have to be prepared to intervene fast if the female isn’t receptive. The conditioning period, the divider setup, and the post-spawn fry care all matter more than people typically realize going in. Here’s everything you need to set yourself up for success.
Key Takeaways
- A separate breeding tank is required to breed bettas
- You will want to breed Bettas when they are 4 to 12 months ago
- The best food for fry is Infusoria
- Male bettas need to go into the breeding tank first before the female so they can build their bubble nest
What Are Betta Fish?
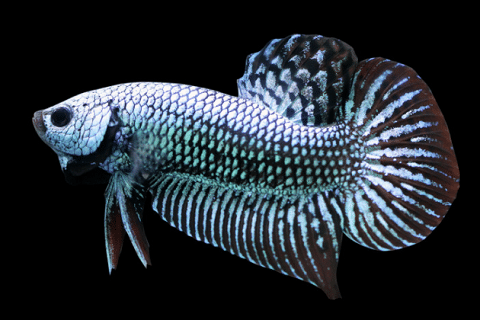
Betta fish are also known as Siamese fighting fish. These colorful tropical freshwater fish are native to Thailand where they live in shallow swamps and rice paddies.
Most of the betta fish you see for sale at the local pet store are males, although you should be able to find some female fish if you shop around.
People have been keeping betta fish for over 150 years, and careful breeding has produced the incredible variety of betta fish available today. These beautiful fish weren’t always kept for their looks, however. Male bettas were originally bred to fight.
Let’s take a look at some important Betta fish facts:
- Scientific name: Betta splendens
- Family: Osphronemidae
- Origin: Southeast Asia
- Size: 2-3 inches
- Temperament: Semi-aggressive
- Lifespan: 2-5 years
Betta Fish Care – The Basics
Before you can breed betta fish, you need to know how to care for them. There are some great in-depth articles in our blog to get you started, but here are key facts that you need to know:
Care Facts
- Minimum Tank Size: 5 gallons for long-term care
- Water temperature: 76 – 82 °F
- pH: 6.5-8
- Nitrates: < 20 ppm
- Water Flow: Low
If you don’t already have a pair of bettas, you’re going to need to set them up in their own cycled tanks. Cycling an aquarium is the process of getting the nitrogen cycle up and running and it can take over a month to achieve using the traditional fishless methods.
You can also cycle your aquarium using liquid bacteria products if you monitor the process by testing your water. A water test kit is essential anyway, so pick up a liquid or strip test kit so you can monitor the following water parameters in your tank:
Fish Behavior
Adult bettas are aggressive fish to their own kind. Their behavior is the most difficult part of the breeding process because they can hurt or even kill each other if you are not careful. Female bettas can come and go as they please in nature, but they cannot escape in a tank.
You can expect some fighting when breeding your betta fish, it’s all part of the process. The female betta will also eat her own eggs and fry, so make sure you follow all the steps in this guide to avoid serious injuries and losses.
Are You Ready for Breeding This Type of Fish?
Breeding betta fish is an amazing hobby, and it can even help you earn some pocket money for more aquariums if you take it seriously. Nevertheless, betta breeding is not something you should jump into without careful thought and planning. Here are some important tips:
- Start by keeping adult bettas for at least a few months to learn more about their behavior and needs.
- You should have a good understanding of the nitrogen cycle, aquarium maintenance, and water testing before breeding your fish.
- Learning how to grow your own live foods like baby brine shrimp is also a good idea. This will be very important when you have loads of tiny mouths to feed.
- Even with all the experience in the world, you will still need the space and equipment to set up your breeding project. You will need three tanks to keep and breed a single pair. Make sure you have enough room in your house and your budget before getting started.
- It is possible to make a profit out of breeding betta fish, but there’s a good chance that it will never be much more than a hobby.
- Nevertheless, you will need to sell or give away the young fish once they are old enough. Make sure you will be able to find them a new home.
Once you have considered all these factors, it’s time to get started!
The Facts
So you’ve thought about all the important things in the previous section and you’re sure you want to breed your betta fish. But where do you begin? And what do you need for breeding bettas?
This section will get you started on the exciting path toward breeding your Siamese-fighting fish. Let’s take a closer look at the basic equipment that you will need.
The Breeding Tank
You should never breed your betta fish in the male or female betta’s regular tank. A dedicated breeding tank will give the newly hatched fry a much better chance of survival.
A standard 5-gallon betta aquarium is a good size for breeding betta fish. You can go a little larger too because the water depth will only be 5 inches or so.
You don’t want the water in the breeding tank to be too deep because the male will become exhausted from swimming up and down (more on this later).
A small glass aquarium will work perfectly and also give you a great view of the breeding process. Your breeding tank is not a display tank, so it does not need to be made of glass, however.
Plastic containers are also a good option, just make sure they are food-grade and have not been used to store any harsh chemicals. It’s best to choose clear plastic so that you can keep a close eye on breeding fish and fry.
Aquarium Hardware
Bettas are tropical fish, so you will need to keep the water in the breeding tank steady at 80 – 82°F. A small aquarium heater is the best way to keep your water warm.
A filter is optional in the first few days, but you will need to maintain water quality for the growing fry. Water flow will damage the male’s bubble nest, so it is best to use a very gentle type like a sponge filter, and then only once the young fry are free swimming.
Lastly, your breeding tank will need a lid/hood to prevent the male and female betta from jumping out.
Sealing the container with a layer of plastic wrap is recommended if you live in a dry climate. This will increase the humidity and warmth of the air which is important for these air-breathing fish.
Substrate & Decorations
Your breeding tank should not include any substrate. During the spawning process, the male betta fish will collect eggs from the bottom of the tank and deposit them in its bubble nest. Aquarium substrates can make this a lot more difficult.
It is not necessary to decorate your breeding tank, but there are a few essential items that you will need:
- Bubble-wrap
Cut a small square of bubble wrap or a piece of styrofoam from a cup. Male betta fish build their bubble nest around floating or emerging vegetation in nature, but artificial materials are more practical when breeding these fish at home. Bubble wrap is ideal because it is clear, so you can see the eggs when looking from above.
- An Indian almond leaf
These leaves are high in tannins and will lower the pH of the water. This encourages the betta to spawn and also protects the eggs from bacteria and fungal infections.

These leaves can be added to your aquarium to help promote a natural habitat for bettas, shrimp, and other soft-water loving fish. Betta breeders can use these leaves to help encourage breeding behavior.
- A breeding box
You will need something clear to keep the female betta separate from the male. Breeding boxes are ideal, but you can also use a hurricane lamp glass, candle holder glass, or even a cut-up soda bottle.
- A small cave
Male betta fish can be very aggressive toward the female while they are breeding, so it’s important to provide a good hiding place where she can get away when she needs to. A small cave ornament will work, but you can use any aquarium-safe materials to make a cave.
Choosing Which Ones to Breed
You should start by selecting the best adult fish if you want to breed betta fish successfully. But how do you which fish to choose?
You will need at least one male betta and one female betta fish to start breeding, but two or more pairs will give you a higher chance of success. That way, you still have a good chance if one of your fish isn’t in good breeding condition or if a pair just don’t get along. Check out our in-depth guide if you’re not sure how to tell the difference between male and female bettas.
Successfully breeding your betta fish involves more than just putting two fish in a tank and hoping for the best, of course. Here are 5 important factors for choosing a new breeding pair.
Age
Betta fish begin to reach sexual maturity in their third month and will be able to breed for the rest of their lives. If you want the best results, however, breed your bettas when they are 4 to 12 months old.
Health
Choose healthy, vibrant betta fish without physical defects for your breeding pair. The fish should be active and have a healthy appetite. Remember, you want the baby fish to be strong and healthy too, so do not breed poor-quality fish.
The breeding process is hard work and puts the fish under a lot of physical stress. Fish that are underweight or struggling with parasites or diseases might not survive.
Your betta fish also need to accept each other before they spawn. The pair will often fight to test each other’s health and strength, so weaker fish will probably be rejected anyway.
Size
Some betta fish don’t seem to develop as quickly as others, so look for strong, healthy bettas when choosing your breeding stock. Avoid undersized fish, even if they are at the perfect breeding age.
History
Proven breeding fish are always a good option for first-time breeders who want the best chance at success. If you’re buying from a reputable breeder, ask for young fish that have successfully bred in the past.
Breed
Betta fish come in a huge variety of different breeds, and some are more valuable than others. Cross-breeding different types of betta fish can be really fun because you never know what you’re going to get!
Consider focusing on more valuable breeds once you have some experience, especially if you want to sell your betta fish for profit. Buying a breeding pair of show bettas will cost more money of course.
Conditioning Your Fish
Once you have your breeding bettas and all the equipment that you need, it’s time to start preparing your fish. Spawning takes a lot of work and energy, so your fish must be in peak physical condition before you breed them.
So what is conditioning? And how do you condition your bettas for breeding?
Conditioning is simply feeding your bettas a protein-rich diet to fatten them up and get them ready for the hard work of breeding. You can do this by feeding your fish two or three helpings of live or frozen food each day, starting about three weeks before you plan on breeding them.

This frozen food pack contains 4 types of formulas in one package. A great overall package for freshwater fish
Best Foods for Conditioning
There are many great foods for conditioning your betta fish before breeding. Let’s take a look at some of the best options:
- Bloodworms (live/ frozen)
- Brine shrimp (live/ frozen)
- Mosquito larvae
- Black worms
- Beef heart
Encouraging Egg Production
You can prepare your female betta for breeding long before the day arrives. Moving your female’s tank to where she can see the male betta in his tank will stimulate her to produce eggs while she is improving her condition.
You should limit the amount of time that they can see each other each day to reduce stress. Allow the breeding pair to see each other for about 15 minutes per day for a week before breeding. Simply use a screen or something similar to block their view for the rest of the day.
Step by Step Instructions
Once you have everything you need, (including a pair of healthy, conditioned betta fish), it’s time to move on to the process of breeding betta fish. It is best to breed your fish over a weekend when you have enough time to watch the process unfold. I provided a video from Blake’s Aquatics. I’ll go over this in more detail below. Let’s get started!
Step 1- Prepare the Tank
- Add about 5 inches of water to the bottom of your breeding tank. You will need to add some water de-chlorinator to make it safe for your fish.
- Add the aquarium heater to the tank. You will need to position it horizontally to keep it under the water, but follow the instructions of the model you have.
- Add a small square of bubble wrap or a piece of styrofoam where the male can build his bubble nest. A two to three-inch square is the ideal size.
- Add the Indian almond leaf to the breeding tank. Larger leaves can be broken in half.
Step 2 – Moving the Pair Into the Tank
- Move the male betta fish into the breeding tank. He should always go in before the female to establish his territory. Test the water before you add your fish. It should have the same temperature and parameters as his regular tank to avoid shock.
- You can add the female to the breeding tank after about a day. Just be sure to keep her separated from the male fish in her breeding box.
- Continue to condition the fish with high-quality, live, or frozen foods while they are in the breeding tank but remove any uneaten food to prevent water quality issues.
Step 3 – Introduce the Breeding Pair
- After about a day, the male betta should have built a large bubble nest in the tank. He will also be flaring at the female. Now it is time to release the female from the breeding box.
- Observe the fish carefully. The male will chase and nip the female betta fish to encourage her to mate. If he gets a little too rough, you might need to separate the pair.
- Give the pair a day to begin spawning, but separate the female in the breeding tank overnight and start the process over if they are not successful.
Step 4 – Spawning
- When the female is ready to spawn, she will approach the male betta near his bubble nest.
- The pair will circle each other until they successfully mate. The male will embrace the female and she will drop her fertilized eggs. Betta eggs are fertilized externally, unlike guppies and other livebearers.
- The male will collect the eggs from the bottom of the tank, or even as they fall, and place them in the bubble nest where they are held at the surface of the water.
- This process can take several hours but check in on the fish regularly to make sure everything is going smoothly.
- If you think you might have missed the action, look for the small white eggs in the bubble nest to know if you have been successful.
Step 5 – Remove the Female
- Once all the eggs are laid, the female should be moved back to her own tank.
- The male will often become aggressive towards her at this point because female betta fish often eat their own eggs.
- The female might be a little roughed up at this point. You can medicate her with a light salt bath or use an aquarium antibiotic to treat her in a separate tank if necessary.
- With the female out of the tank, the male will settle into caring for the eggs.
Step 6 – Hatching
- The male betta fish will continue to guard the eggs until they hatch and the tiny baby fish begin to swim freely. This usually takes about three days.
- At first, the baby fish will be visible by their tails hanging out of the bubbles, and the male will keep working to keep all the hatching babies in the nest.
- Remove the male betta when all the fry has become free swimming.
Caring For Your Fry
Congratulations, you have successfully bred your betta fish! You’re not out of the woods yet though. Your next job is to care for the fry, and hopefully, there are loads of them! Keep reading to learn how to grow healthy betta babies fast.
Feeding
Newly hatched betta fish are incredibly small. They get all the nutrition they need from their yolk sack on their first day and do not need to be fed.
They will need to be fed by their second or third day, however. Let’s take a look at the perfect baby betta foods.
Culturing Live Foods
Baby betta fish love live food. Growing your own live foods will give you the best results, and it’s pretty fun too! Let’s take a look at some live foods that you can grow at home.
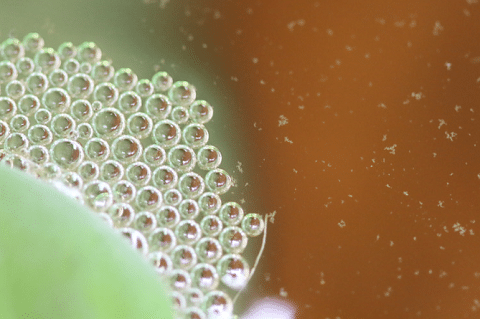
- Infusoria
These tiny microorganisms are the best first meal for your baby betta fish. They can be grown by putting some tank water in a tub and keeping it at about 70°F. Add some boiled vegetables like lettuce or some aquarium plant cuttings. You can look at this video by Girl Talks Fish that goes into further detail.
Aerate the water regularly by stirring it a few times each day or running an air pump on low. The process takes two to three weeks, so start this project while you are still conditioning your betta to breed.
- Baby brine shrimp
Your betta fry will grow fast on a protein-rich diet of infusoria and can begin to eat larger foods after a few days. Baby brine shrimp are a perfect meal for growing babies, and the best part is that you can hatch them yourself!
Growing your own baby brine shrimp takes a little effort, but there are some amazing kits available that contain everything you need. Your baby bettas will thank you for it with rapid growth.
Infusoria and baby brine shrimp are great for baby betta fish, but there are many other tiny live foods that you can grow, including:
- Vinegar eels
- Microworms
- Grindal worms
Prepared Foods
There are some amazing dried and gel foods available for the modern fish breeder that are much easier to use than live food.
Baby betta fry are too small to eat regular fish food like pellets and granules, so pick up some powdered foods like Hikari First Bites or Repashy gel foods. After a few weeks, your baby bettas will be big enough to eat regular crushed flakes.
How to Feed The Baby
Use an eye dropper or a syringe to collect your live foods and add them to the water column of your fry tank. Avoid overfeeding, although you will be removing the uneaten foods during regular water changes.
The young bettas can be weaned onto prepared foods after a few weeks but make sure the food is small enough for their tiny mouths. You will need to crush larger foods or grind them between your fingers to make small particles.
Moving the Fry
Your betta fry will grow very quickly if you provide them with a high-quality diet, and they will need to be moved into a larger fry tank after about a month. The young fish are very sensitive at this age, so work carefully and acclimate them slowly to their new home.
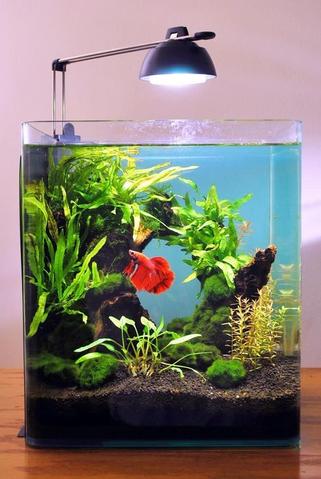
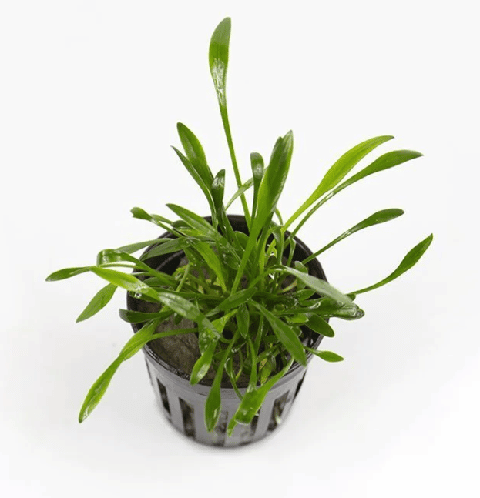
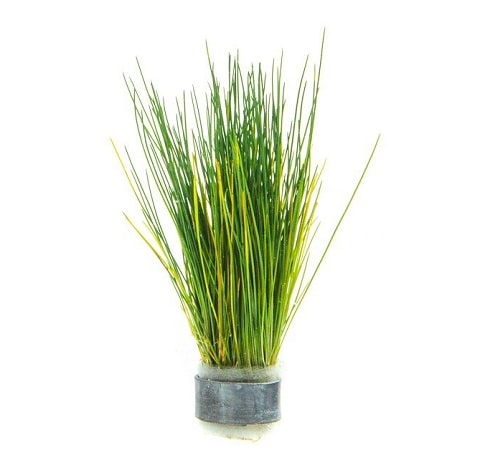
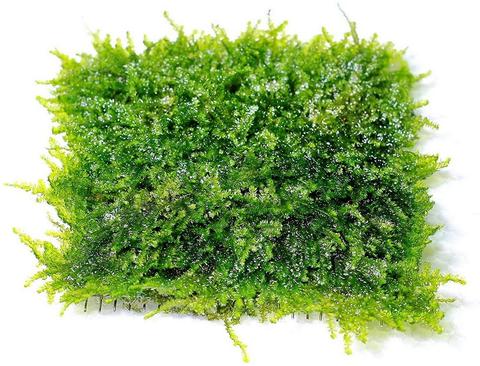
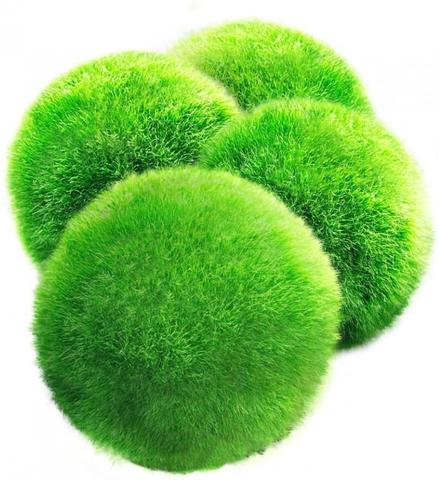
The new tank should be cycled and have a running sponge filter that does not create too much current. Live aquarium plants will also improve the water quality while providing hiding places and surfaces for microorganisms to grow as a natural food source.
If possible, move the breeding tank into the larger grow-out tank and allow the water temperature to equalize between the two containers. Test the water in each container to see that they have the same parameters before very slowly pouring the young fish into their new home.
Water Quality
Your betta fry are sensitive to ammonia and nitrites in the water, so test your water daily to monitor the parameters. You will need to perform regular water changes all through the growing process, even with a filter. Large daily water changes could be necessary for the first few weeks.
Betta fry are tiny and easily damaged during maintenance. Scoop the water out very carefully or use gentle suction with a fine screen over the end of the hose. Working in a well-lit room will help you spot the baby bettas and avoid sucking them up.
FAQs
Are They easy to breed?
Betta fish are moderately easy to breed. The process requires careful planning and management to avoid injuries to your fish, however. Breeding live-bearing fish like guppies is much easier for first-time fish breeders.
How long does it take for them to breed?
Bettas should not be bred until they are at least four months old. A pair will usually breed on the first day that they are put together, although they should be conditioned for a few weeks beforehand and kept separate in the breeding tank for the first day.
How do I know if my female is ready?
Your female betta fish should be between four and twelve months old to breed. She should have a round belly and a small white egg tube just behind her ventral fin. Vertical stripes on her sides are also a sure sign that she is ready to breed.
How do they breed?
Betta fish are often farmed on a large scale in countries like Thailand. These fish are exported all over the world.
Are Bettas easy to breed?
Betta fish can be easy to breed if you follow the right steps. Caring for the fry is probably the most challenging stage of the betta breeding process. Experienced fish keepers will have a lot more success than beginners, of course.
How do you pick a breeding pair?
Picking a healthy breeding pair is essential for successful betta fish breeding. Both the male and female betta should be between four months and one year old and be strong and healthy.
The ideal female will have a rounded belly and an obvious egg spot. Choose fish that show the best fins and colors if you are breeding a specific type of betta.
How long do they take to mate?
The betta fish mating process can take weeks if you factor in the conditioning and preparation of the pair. When the time comes, the pair will only need to be together in the breeding tank for two days or so, and the actual mating will take a few hours.
Final Thoughts
Breeding bettas is a wonderful hobby and a fascinating process to watch at home. It is not something you should rush into, of course, so give yourself (and your fish) plenty of time to prepare before you start.
There are many different ways to breed betta fish and the methods in this article work. Don’t be afraid to make adjustments and keep your fishes safety in mind at every step, however. In conclusion, breeding betta fish is all about practice. Don’t be discouraged if you make a mistake here and there, it’s all part of the process!
Do you plan on breeding betta fish? Tell us about your experiences in the comments below!
📘 Want to learn more? This article is part of our complete Betta Fish Guide. your ultimate resource for betta care, types, tank setup, feeding, tank mates, and more.