Table of Contents
- What Most Care Guides Get Wrong About Cherry Barb The Peaceful Barb That Works in Community Tanks
- A Brief Overview Of The Cherry Barb
- Origins and Habitat
- What Do Cherry Barbs Look Like?
- Temperament and Activity Level
- What Are Good Tank Mates?
- Tank Requirements
- Water Quality
- Aquarium Maintenance
- How to Set Up Your Fish Tank
- Health and Disease
- Availability
- FAQs
- Is the Cherry Barb The Peaceful Barb That Works in Community Tanks Right for You?
- How the Cherry Barb The Peaceful Barb That Works in Community Tanks Compares to Similar Species
- Closing Thoughts
- Recommended Video
The cherry barb is the anti-tiger barb. It is peaceful to a fault, will not nip fins, will not chase tank mates, and will not defend itself when something bigger pushes it around. That makes it one of the best community fish in the hobby, but it also means you have to protect it. Put cherry barbs with anything aggressive and they will hide, fade, and stop eating.
In the right tank, with dark substrate, live plants, and a group of at least six, male cherry barbs develop a deep crimson color that rivals anything in the tropical fish world. Skip those conditions and you get a washed-out pink fish that never shows you what it is capable of. This guide covers what it takes to bring out their best, because the cherry barb does not demand attention. It earns it quietly, and only when the conditions are right.
The cherry barb is proof that a barb does not have to be a bully. But being peaceful has consequences. Your job is to make sure those consequences never catch up to it.
What Most Care Guides Get Wrong About Cherry Barb The Peaceful Barb That Works in Community Tanks
The most common mistake I see with cherry barb the peaceful barb that works in community tankss is keeping too few. Guides will say “minimum 6” and leave it at that. In reality, these fish behave completely differently in a proper group of 8 to 10 or more. Keeping just 3 or 4 often leads to stress, hiding, and fin nipping that wouldn’t happen in a larger school. Another thing most guides miss is how much lighting and decor affect this species. Cherry Barb The Peaceful Barb That Works in Community Tankss look washed out under bright white LEDs on a light substrate. Dim the lights, add some tannins, use a dark background, and you’ll see colors you didn’t know they had. I’ve also noticed that many care sheets recommend overly broad water parameters. Yes, cherry barb the peaceful barb that works in community tankss are adaptable.
A Brief Overview Of The Cherry Barb
The Cherry Barb is scientifically called Puntius titteya , they are one of the friendlier barbs you can purchase in the aquarium hobby and are ideal for a community tank. They are also great barb fish for planted tanks as the male’s reds contrast well with many green plants.
| Scientific Name | Puntius titteya |
| Common Name (Species) | Cherry Barb |
| Family | Cyprinidae |
| Origin | Sri Lanka |
| Diet | Omnivore |
| Care Level | Easy |
| Activity | Active, social |
| Size | Up to 2 inches |
| Lifespan | 4 years (up to 7) |
| Temperament | Peaceful |
| Tank Level | All Areas |
| Minimum Tank Size | 25 Gallons |
| Temperature Range | 73. 81 Degrees F |
| KH | 4 – 7 |
| pH Range | 7.2. 7.5 |
| Filtration/Flow Rate | Clam to Moderate |
| Water Type | Freshwater |
| Breeding | Egg-layers, easy to breed |
| Compatibility | Peace community species |
| Ok For Planted Tanks? | Yes |
Classification
| Kingdom | Animalia |
| Phylum | Chordata |
| Class | Actinopterygii |
| Order | Cypriniformes |
| Family | Cyprinidae |
| Genus | Puntius |
| Species | P. Titteya (Deraniyagala, 1929) |
Origins and Habitat
The Cherry Barb originates from Sri Lanka from the Cyprinidae family. The fish live in freshwater ponds and slow-moving water sources across Sri Lanka. These freshwater fish have also been found in Columbia and Mexico, where they have adapted well to their surroundings.
The fish thrive in tropical rainforest conditions where the temperature rarely changes.
Even though the Cherry Barb Puntius titteya is thriving in the aquarium scene, the fish is now vulnerable in its natural environment. This is due to its popularity with aquarium owners and the disappearing waters in their shrinking natural habitat. Fortunately, these fish are now tank bred and easy to find in fish stores.
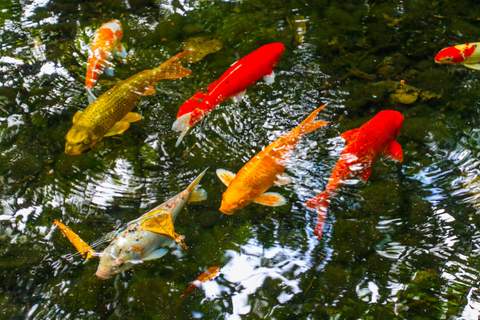
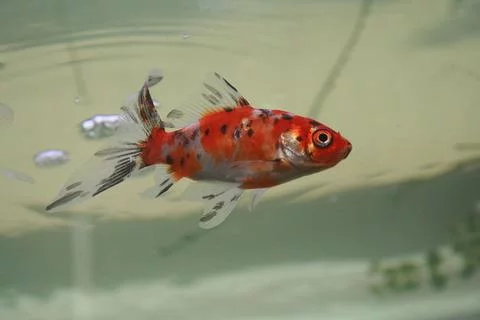
What Do Cherry Barbs Look Like?
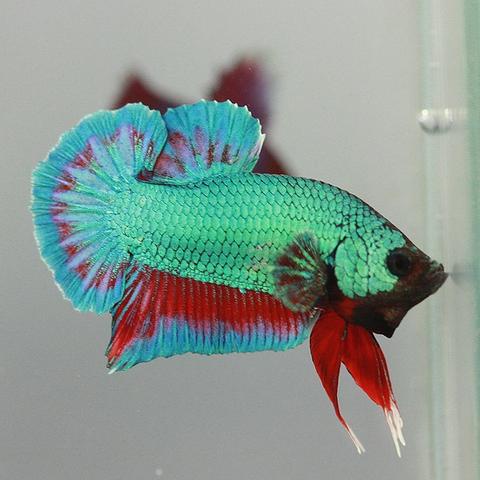
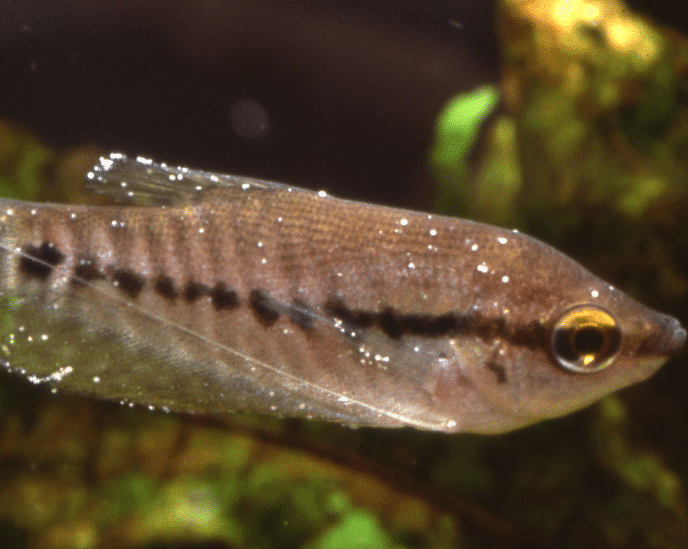
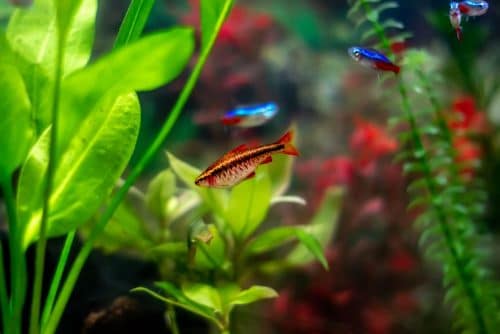
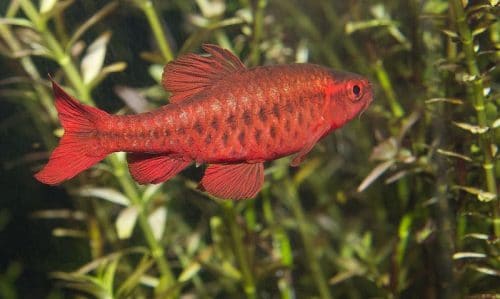
Cherry Barbs are long, thin, brightly colored fish. As the name suggests, they are bright red, with the male species generally being more vibrant than the females, which are more of a tan color. The females also look fatter than the males.

All Cherry Barbs have a dark line that runs along the whole of their body. This is a solid brown line, but due to their scales, it can look dotted.
Their fins are quite small and can look translucent. The dorsal fin is shaped like a half shell and is halfway down its back. When they swim, this fin lies flattened so that they look like little torpedoes gliding through the water.
How Big Are They?
A Cherry Barb can grow up to 2 inches in length. Male Cherry Barbs are slightly smaller than the females. The size of your fish can depend on the care given and may only grow to one inch in length.
How Long Do They Live?
The Cherry Barb generally lives for between three and five years. However, with lots of looking after and Cherry Barb care, the fish can live up to seven years.
Some owners have reported Cherry Barbs living up to eight years. This is possible with the right care and attention and includes the correct habitat, water parameters, and tank mates.
Temperament and Activity Level
These fish are peaceful and like nothing better than swimming around all day in their group. You should buy Cherry Barb fish together due to their schooling nature; they like to swim around in groups. This gives them the feeling of safety and security when swimming together.
They are active fish and enjoy swimming quite fast. They are also curious fish who like searching things out. They may spot something that they want to explore and leave the group for a second but will always return.
The only time that you will see any signs of aggression from the Cherry Barbs will be while mating. Males will then dominate the female and other males.
What Are Good Tank Mates?
Due to their peaceful nature and social temperament, Cherry Barb tank mates can be many other fish species. They prefer to school in a group of other Cherry Barb fish, so keep this in mind when getting other fish.
Good Tank Mates
The best Cherry Barb tank mates for these fish would be other peaceful smaller fish species that share the same nature as your Cherry Barbs. They also enjoy sharing the tank with larger bottom dwellers.
Some of the best fish species for tank mates would be:
- Tetras
- Rasboras
- Gouramis
- Small catfish like Otocinclus catfish
They are also suited to shrimp and other invertebrates, such as Ghost Shrimp, Cherry Shrimp, or Mystery Snails
Fish Species to Avoid
Cherry Barbs is shy around other fish species, so it’s better to avoid larger or more aggressive fish species. Any fish that can fit the barb in its mouth should be avoided. Other more aggressive barbs like the Cherry Barb should be avoided.
What Do They Eat?
Cherry Barbs will eat anything that you give them. These fish are omnivores and enjoy a diet of both plant-based and live foods. High-quality flake, freeze dried, and frozen foods can provide the required nutrients, along with some protein-rich food such as brine shrimp, black worms, or bloodworms to supplement their daily diet.
What About Live Foods?
The fish enjoy live foods, and these should be given to them regularly. A Cherry Barb will eat most things but prefers a diet including brine shrimp and bloodworm.
How Much and How Often To Feed?
You should aim to start feeding the fish twice per day. If they don’t eat everything they are given straight away, give them less on the next feed. Be careful not to overfeed your Cherry Barb fish, as this can lead to all kinds of health problems.
Tank Requirements
You should make sure that you have the right sized tank and environment for your Cherry Barb fish. They are easy to look after as long as they have the right conditions and habitat.
Tank Size
As Cherry Barbs are schooling fish, you should allow for around six fish initially. The minimum tank size should be between 25. 30 gallons.
Tank Setup
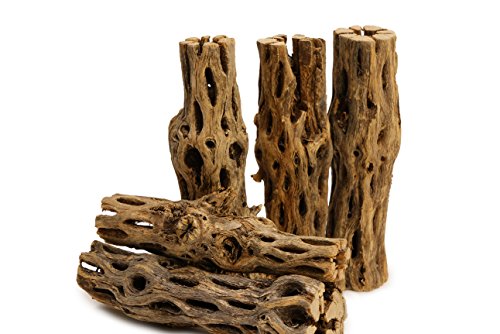
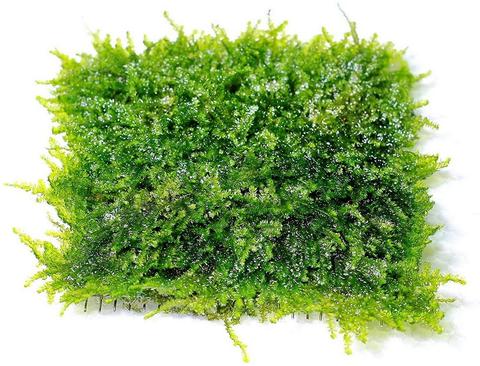
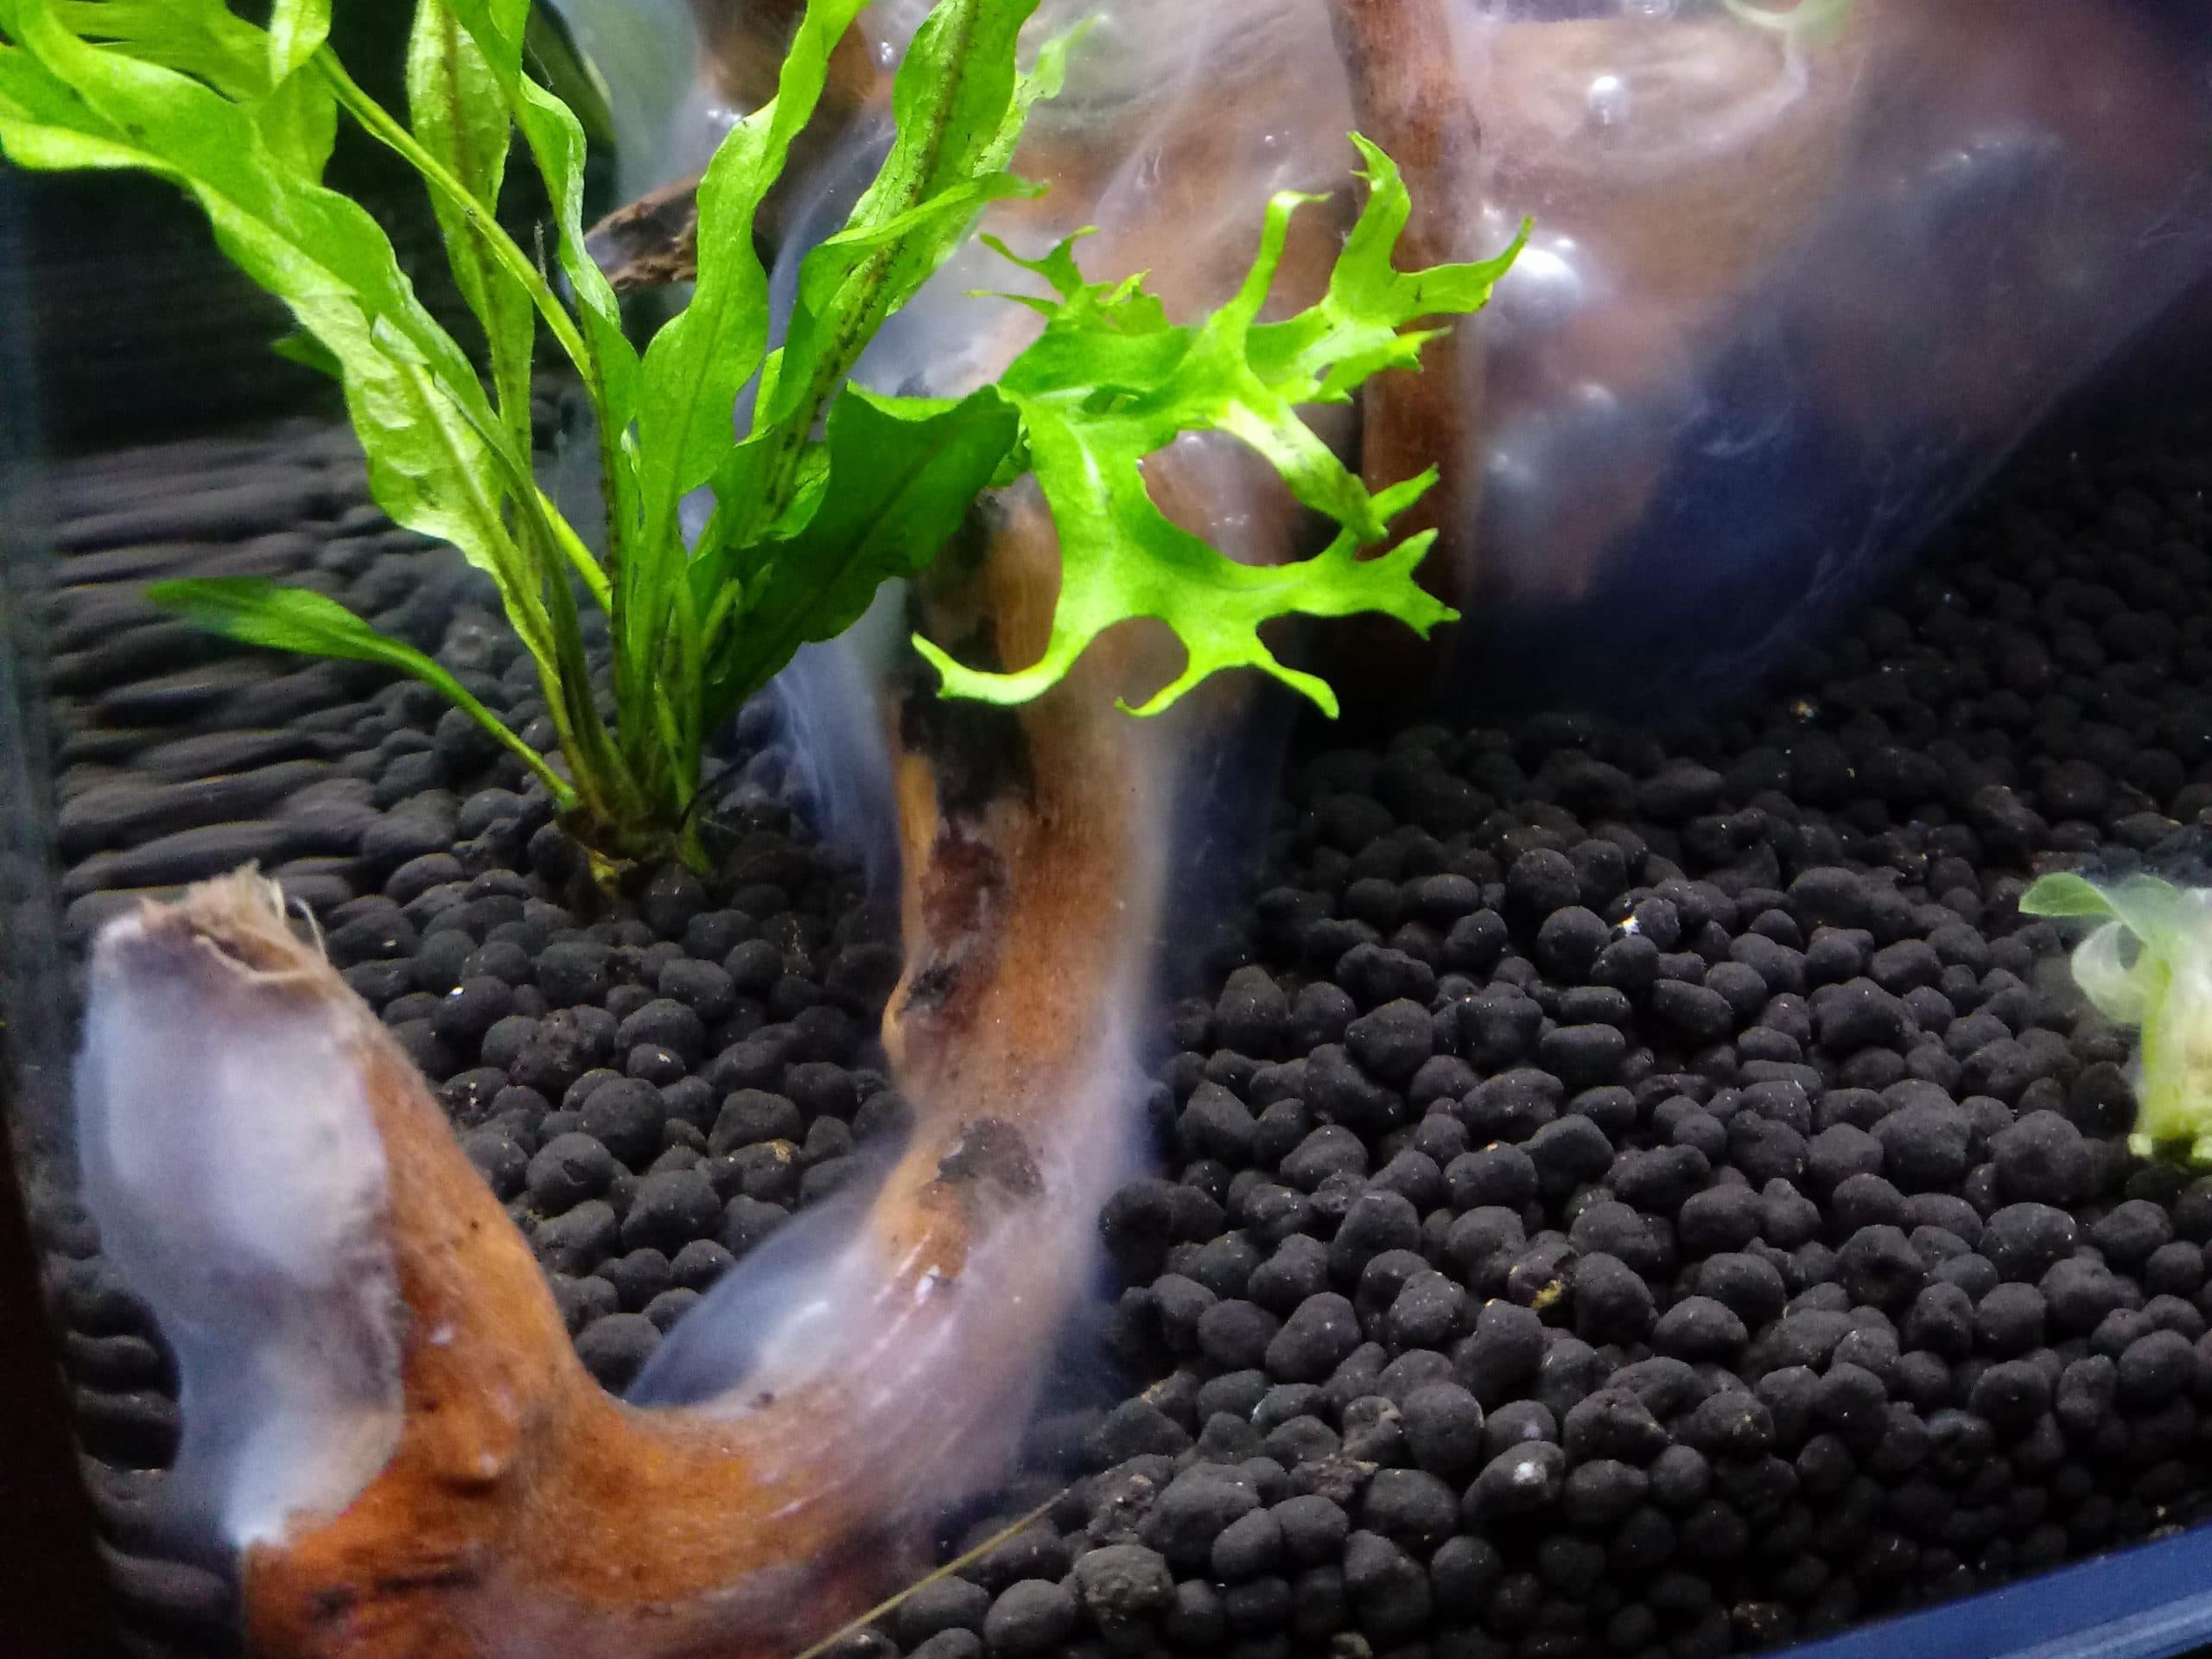
The natural habitat for these fish is shallow water with lots of live plants, so you should try to re-create this where possible. They are naturally a timid fish, and will not be as social without the comfort of plants. You should try to have some plants on the surface of the tank to help them to feel at home. Some of the best plants to choose from are water wisteria, hornwort, and anacharis.
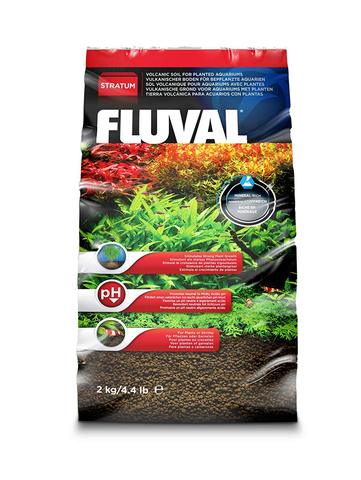
Dark sand or fine gravel is an excellent substrate for your Cherry Barb. This offers a similar environment to their natural habitat of a dark, silty base. This, along with a well-planted tank, will give them the right environment. In an aquascaped environment, active aquarium soil is a consideration for rooted and carpeting plants.
The dark substrate will also add to the aesthetics of your fish tank with the black substrate against the bright red of the fish. It’s a color explosion!
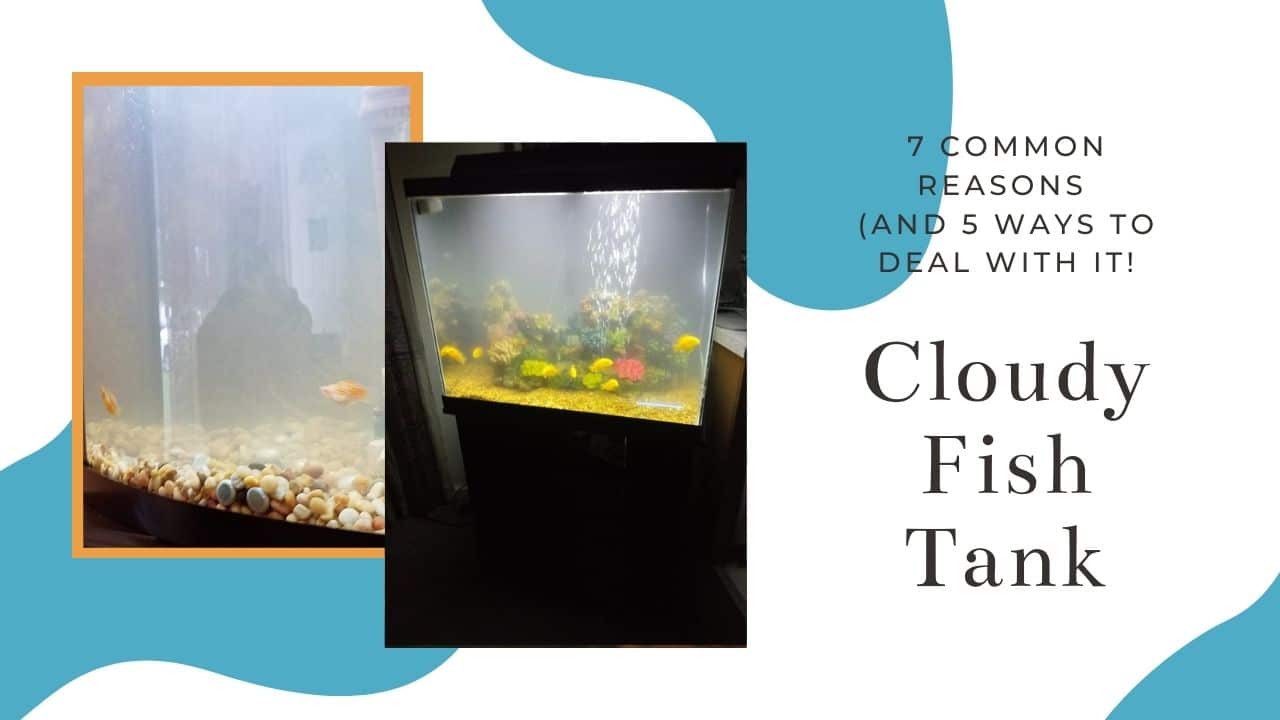
Water Quality
These freshwater fish are a pretty hardy fish and can tolerate a range of water changes and conditions. However, you should ensure that the water quality is suitable for the fish to avoid any illness.
Filtration
A standard hang-on back filter should be suitable for your Cherry Barb care, which will keep the water clean at all times. The filter should have a gentle flow as the fish are used to slow-moving water and will not do well in fast currents. For a planted tank, a canister filter is a good consideration to provide added mechanical filtration and flow.
Water Parameters
The ideal water parameters for your Cherry Barb freshwater fish would be:
- Water temperature: 73°F. 81°F
- pH level: 7.2. 7.5
- Water hardness: 5 dH. 19 dH
Aquarium Maintenance
To give your Cherry Barbs a healthy fish life, you must ensure that your aquarium is maintained to a high standard. The water should be kept clean, and parameters met at all times to give the best Cherry Barb care. The tank should also be cleaned regularly.
Test Water Conditions
Your tank water should be tested regularly to make sure that the parameters are met. By investing in high-quality water test kits, this will give you the accurate result that you need for your Cherry Barb fish.

API Freshwater Master Test Kit
Best Aquarium Test Kit For Freshwater
With all the essentials and accurate testing, this test kit is the best one to get you started
The water should be tested for the following elements:
- pH: This is the power of hydrogen level that tells you how acidic or alkaline the water is.
- Ammonia: This is a byproduct of your fish’s waste and is toxic for your fish.
- Nitrite: Ammonia is broken down to make nitrite which is also toxic.
- Nitrate: You should not have more than 40ppm of nitrate in your water.
How to Set Up Your Fish Tank
Once you have bought everything you need, you will need to set up your Cherry Barb tank.
How To Set Up a Fish Tank
The first thing to do when setting up your fish tank is to make sure that everything is clean. You shouldn’t use any soap or disinfectant to clean as this may harm your fish; rinsing under water is sufficient.
The substrate should then be added to the tank, a couple of inches is plenty. Once you have done this, place an upturned bowl on the substrate. This will make the process of adding water easier. The filter and heater should then be added but not switched on just yet.
Dechlorinated tap water can then be added to the tank. Do this by pouring it over the upturned bowl so that the substrate isn’t displaced all over the tank. To make the water fish-friendly, you need to start the nitrogen cycle. A little liquid ammonia should be added to the water to start the cycle.
Your decorations and live plants can then be added, making sure that these have been rinsed through. Live plants can be planted in pots or directly into the substrate, and all damaged leaves should be removed.
The filter system and heater should then be switched on and kept on all day and all night. Your live plants need light to survive, so your lighting should be switched on also.

Cobalt Aquatics Neo-Therm
Compact and accurate. This is a great heater if you lack space. Great for all in one tanks
The tank is then ready, but you shouldn’t add your fish just yet. The tank should be left to establish itself without fish for at least 10 days. The water parameters should then be tested to make sure that they are appropriate. All water parameters should be correct before adding any fish, or they won’t survive in the tank.
Once you have reached the correct parameters in your fish tank, you can then add your fish.
Health and Disease
The Cherry Barb is quite a hardy fish species; however, they can still be susceptible to ill health.
Signs of Health
Prevention is far better than curing illness, and you should make sure that your fish are looked after. This will help to avoid many illnesses that can affect the fish.
A healthy Cherry Barb is colorful and should be actively swimming around the tank with its group.
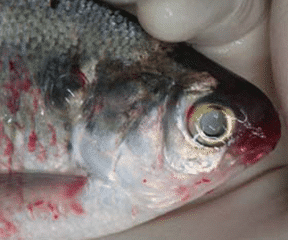
Signs of Ill Health
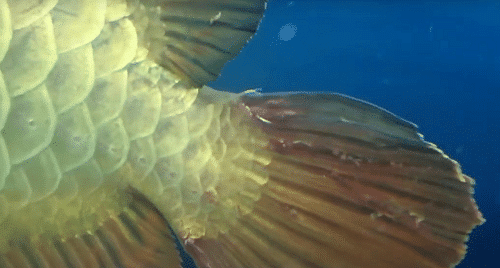
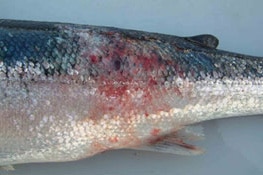
The first sign of ill health in a Cherry Barb would be changes in the behavior of your fish. If you notice anything different, check your fish out. Some of the changes in behavior is: lethargy, not eating, or rubbing their body on the tank. They could also be suffering from ripped fins, which is a sign that there is something wrong.
Common Health Issues and Treatment
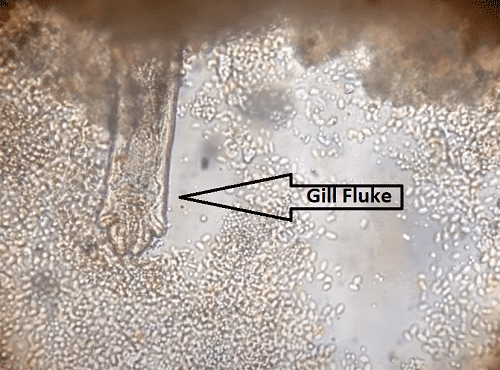
The most common disease in your fish would be Ich. This is also known as white spot disease, and the water should be treated with an Ich medication to get rid of this.
They can also suffer from other conditions, such as velvet disease, fin rot, and dropsy. These conditions are all curable as long as they are correctly treated in time. Your fish need to be quarantined while being treated. Check out my freshwater fish disease article for identification and treatment of the most common diseases in our hobby.
Breeding
Cherry Barbs are easy fish to breed and will spawn often. The breeding process is simple compared to other fish species. The time-consuming work is in the preparation. You will need to set up a breeding tank with a similar habitat to their permanent tank.
You will need two tanks or will need to separate a tank into two areas, one for the breeding pair and one for the eggs. Cherry Barbs will eat the eggs once spawned if they are not separated. The breeding tank will need to be well planted as they like to hide and protect their eggs in the plants.
Once ready to spawn, the males will become more aggressive and start to chase the female. He will also become brighter in color, as will she. The female can lay between 200 and 300 eggs, and these will be scattered over the plants and substrate. You need to quickly remove these once spawned and put them in a separate tank.
Be careful not to add your female fish back into the permanent tank as soon as she has spawned her eggs. She will be tired and needs to regain her strength before being put back in with the male fish.
The fry will hatch over the next few days and should be fed on foods such as vinegar eels or micro worms. After a further couple of days, they will begin to swim around. As they get bigger, they can start to be fed on larger live foods like brine shrimp.
The fry will reach adulthood at around two months old, and at this point, they can be added to the permanent tank with other fish.
Are Your Cherry Barbs Male or Female?
There are a few ways that you can tell if your Cherry Barbs are male or female. The first one would be their color. The males are a brighter cherry red color, where the females are paler in color and can be tan or almost white.

The lateral line that is found along the whole of their body from the head to the tail is different. This is a darker brown color in the female Cherry Barb than the male. The last difference would be the shape of the fish. The female Cherry Barb is slightly rounder in shape in the stomach area than the male; the male fish is slimmer.
Availability
You can buy both male Cherry Barbs and female Cherry Barbs from most pet stores as well as online fish stores. Make sure that you purchase your fish from a reputable supplier and that they are healthy fish. You don’t want to buy fish that aren’t looked after and could spread diseases to your other fish.
What You Need to Buy
You need to start with the right tank with lighting and a filter system. They are a tropical fish, so you should invest in a heater for the tank. You should then get the substrate, plants, decorations, quality fish food, and maintenance equipment.
To clean the tank correctly, you should invest in an algae magnet and an aquarium vacuum. You also need to make sure that you have plenty of water testing kits to ensure that your water is at optimal parameters.
Don’t forget your fish!
FAQs
Are They Aggressive?
Cherry Barbs are one of the least aggressive barb types you can purchase in the freshwater aquarium trade. They will happily school, are active, and great along with most fish. I would consider them the most well mannered barb you can buy.
How Many Should Be Kept Together?
These barbs are schooling fish and are best keep in groups. You should keep at least 5 cherry barbs together in an aquarium. Keeping these fish alone will result in lot of stress and diminished health for your fish.
Do They Need Heaters?
A cherry barb will not need an fish tank heater if your room temperature is stable. They will do fine when room temperatures range from 68-72 degrees. If your room stays at this range, you should not need a heater. If you live in a cold climate, I strongly recommend one when it gets colder.
Is the Cherry Barb The Peaceful Barb That Works in Community Tanks Right for You?
Before you add a cherry barb the peaceful barb that works in community tanks to your tank, it’s worth asking whether this species actually fits your setup and your goals. Here’s a quick breakdown to help you decide.
This species is a good fit if:
- You have a large enough tank to manage territories. Cramped conditions amplify aggression.
- You’re comfortable managing aggression through stocking ratios, line of sight breaks, and tank layout.
- You can commit to regular water changes. These fish produce more waste than many smaller species.
- You’re not planning a peaceful community tank. Cherry Barb The Peaceful Barb That Works in Community Tankss need tank mates that can hold their own.
- You enjoy watching active, interactive fish. Cichlids have personality that smaller species simply don’t match.
- You have backup plans. Sometimes a particular fish just doesn’t work out, and you need a way to rehome it.
- You’re feeding a varied, high-quality diet. Color and health depend on nutrition.
If most of those points line up with your setup, the cherry barb the peaceful barb that works in community tanks is worth serious consideration. If several don’t, it’s better to choose a species that matches your tank now rather than trying to make it work.
How the Cherry Barb The Peaceful Barb That Works in Community Tanks Compares to Similar Species
Choosing between similar species can be tricky. Here’s how the cherry barb the peaceful barb that works in community tanks stacks up against some common alternatives.
Cherry Barb The Peaceful Barb That Works in Community Tanks vs. Ember Tetra: These two species are considered together when stocking a community tank. The cherry barb the peaceful barb that works in community tanks and ember tetra share some basic care requirements, but they differ in adult size, activity level, and how assertive they are with tank mates. The choice between them often comes down to tank size and the overall energy level you’re going for. Check out our Ember Tetra care guide for a detailed breakdown.
Cherry Barb The Peaceful Barb That Works in Community Tanks vs. Celestial Pearl Danio: These two species are considered together when stocking a community tank. The cherry barb the peaceful barb that works in community tanks and celestial pearl danio share some basic care requirements, but they differ in adult size, activity level, and how assertive they are with tank mates. The choice between them often comes down to tank size and the overall energy level you’re going for. Check out our Celestial Pearl Danio care guide for a detailed breakdown.
Closing Thoughts
The Cherry Barb in bad conditions and the Cherry Barb in perfect conditions look like two completely different species.
The Cherry Barb Puntius titteya is a popular freshwater fish that is easy to care for and will give you hours of relaxing enjoyment. There’s nothing better than watching your fish swimming together around the tank.
We hope you enjoyed our fish guide, and it gives you the information you need to start your aquarium of colorful Cherry Barbs.
This guide is part of our Barbs: Complete Species Directory. Visit the hub page to explore care guides for all popular barb species.
This article is part of our Barb Species Directory. Visit the hub page to explore all species care guides.
Recommended Video
Check out this video covering barb species for your aquarium: