Black Moor Goldfish have telescope eyes that make them nearly blind in competitive feeding situations. They are slow, clumsy, and get outcompeted by every other goldfish variety.
Never mix black moors with single-tail goldfish. The moors will lose every feeding competition.
Have you just purchased your first Black Moor Goldfish? Congratulations on being a new fish parent and thank you for taking the time to research how to care for them. You will find that not only are they easy to take care of, but their beautiful colors make them a great addition to any home or office.
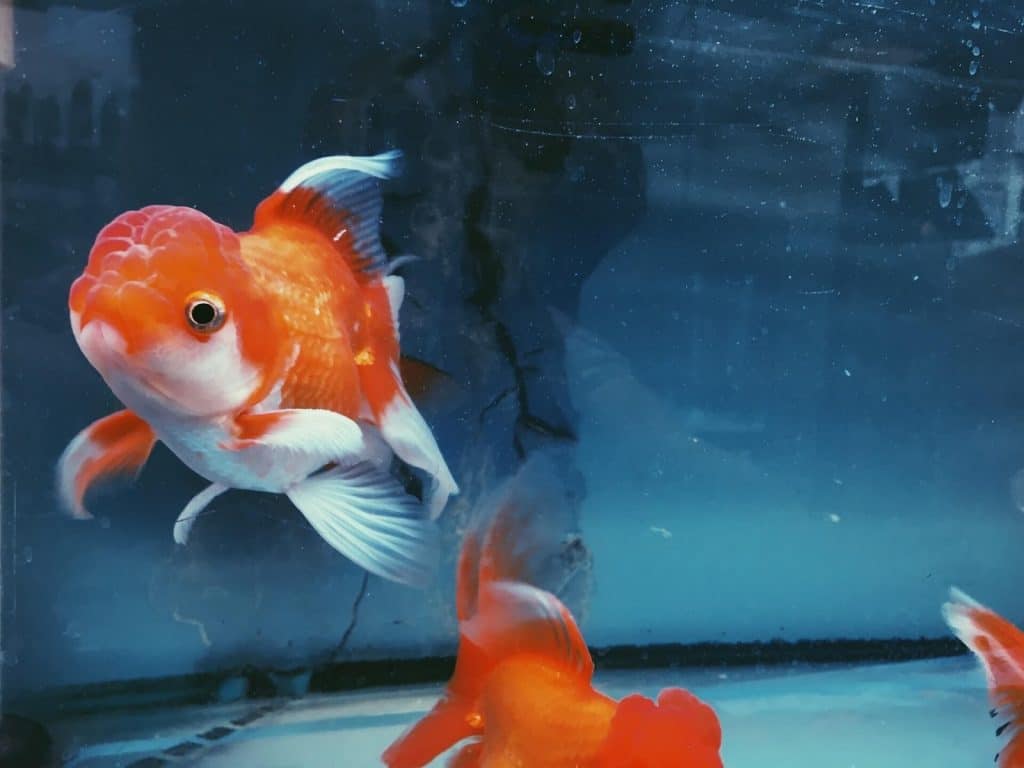
Of all the fancy goldfish which have attracted the interest of the home aquariums of beginner aquarists, one the most distinct aquarium fish is undoubtedly the black moor goldfish. Named for its beautiful black coloring, this is a peaceful type of goldfish that is very easy and rewarding to care for. What distinguishes the black moor from other fancy goldfish types are, mainly, its “dragon” eyes. As one of the telescope goldfish, these fish have eyes with a comic and endearing bulging appearance.
It’s important to follow the proper care specifications in order to ensure a long and healthy life for your new friends: here’s my comprehensive guide to black moor goldfish care.
A Brief Overview of the Black Moor Goldfish
| Scientific Name | Carassius Auratus |
| Common Names | Black Moor Goldfish, Dragon Eye Goldfish, Black Demekin, Black Peony Goldfish, Telescope Goldfish |
| Family | Cyprinidae |
| Origin | China and Japan |
| Diet | Omnivore |
| Care Level | Easy |
| Activity | Moderately Active |
| Lifespan | 10. 15 years |
| Temperament | Peaceful |
| Tank Level | All levels, mainly mid level |
| Minimum Tank Size | 20 gallon aquarium |
| Temperature Range | 65ºF to 72ºF |
| KH | 4-20 |
| pH Range | 6.5 to 7.5 |
| Filtration/Water Flow | Moderate |
| Water Type | Freshwater |
| Breeding | Lay eggs seasonally, is hand spawned |
| Difficulty to Breed | Moderate |
| Compatibility | Peaceful community species, best with other Fancy Goldfish |
| OK for Planted Tanks? | Mostly No |
Origins and Habitat
Like all goldfish carassius auratus, the lineage of the black moor has its beginnings in the Prussian carp, a wild carp specimen found in parts of North America, Europe and most notably, Asia. The first incidence of carp being caught and domesticated, however, occurred in China.
The black moor goldfish is a result of selective fish breeding done in China and Japan to obtain and retain its defining genetic abnormality: telescope eyes. This was done by confining fish with such eyes to a single pond, leading to a larger spawn. The unqiue black coloring and long tail fins of the black moor were thus bred into permanence.
What Does they Look Like?
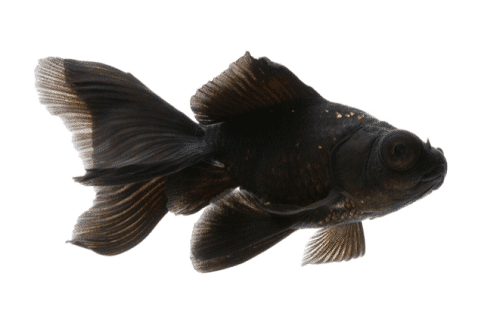
With bulging eyes and a metallic coat of black scales, the black moor goldfish has an easily recognizable appearance:
Body
Like many other fancy goldfish, the body of the black moor goldfish is rotund, with an egg shape. This is offset by their beautiful tail and anal fins, which are long, graceful and flowing. Meanwhile, their pectoral and dorsal fins tend to be larger.
Color
The black moor goldfish gets its name from the distinct, fully black coloration of its scales. However, this beautiful metallic black color is not seen until they get older. As a juvenile, the scales of a black moor goldfish have a color more accurately described as dark bronze. Beyond maturity, when it begins aging, a black moor’s fins may turn grayish, but don’t begrudge them for not staying true to their name.
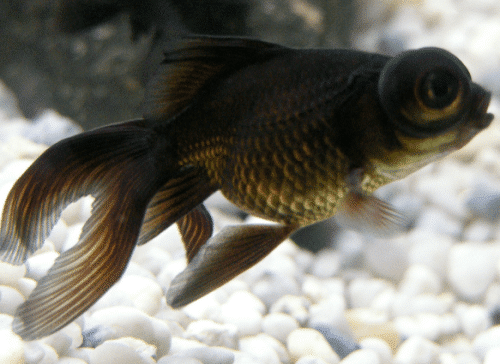
Eyes
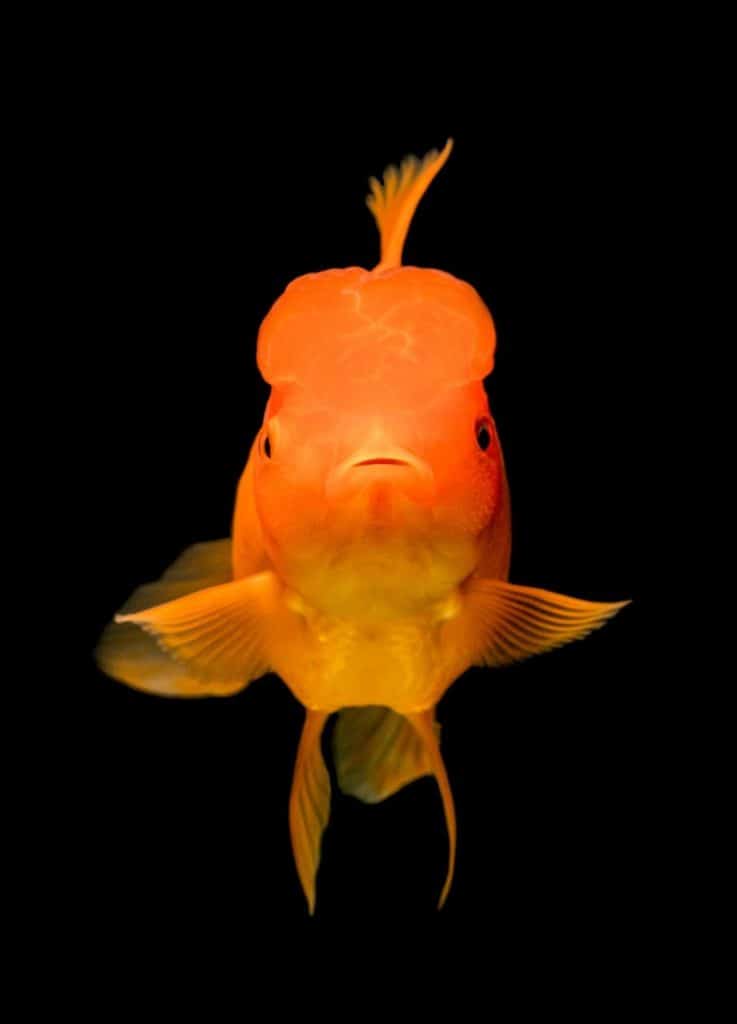
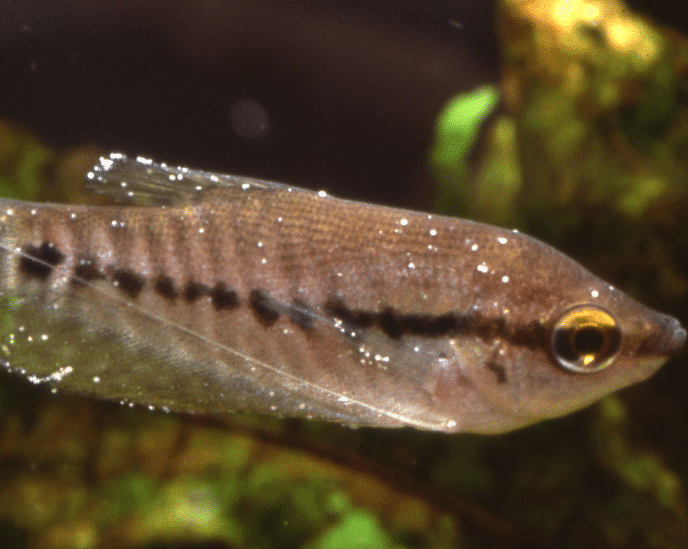
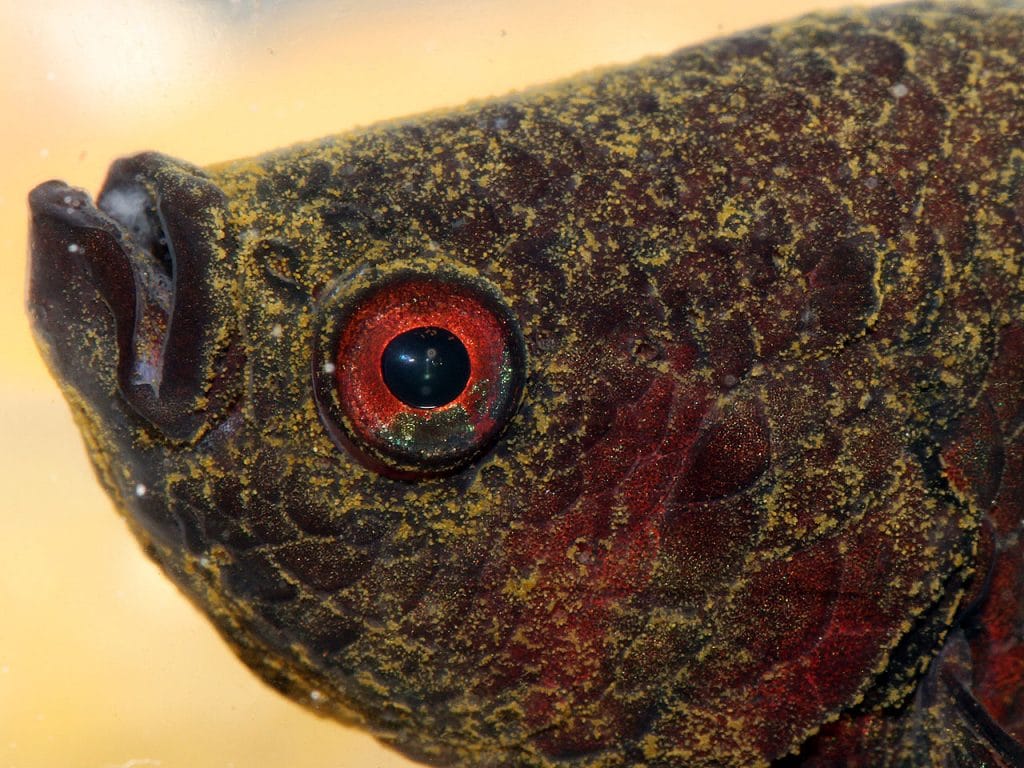
And now for the best part of the black moor goldfish: its large, bulging eyes, which are quite fittingly called telescope eyes (and alternatively, dragon eyes). As they age, black moor goldfish’s eyes tend to get bigger. So, if you look into a tank full of these fish, you can easily pick out the eldest among them by the size of his or her eyes. The bulging eyes phenomenon is a result of intraocular pressure, which causes the fancy goldfish to, ironically, have very weak eyesight.
Gender Differences
Telling the sex of a black moor is decidedly difficult, although males do tend to be smaller than females. During mating season, however, the fins of a male black moor goldfish is covered with breeding tubercles, which look like little white bumps.
HOW BIG ARE THEY?
The size of a black moor goldfish changes quite noticeably as he or she grows. The average size of a black moor is about 6 inches. At their largest, they might measure up to 8 inches.
HOW LONG DO THEY LIVE?
Like most other goldfish varieties, these fish have a life expectancy between 10 and 15 years. However, if you manage to provide superior water quality and diligently keep up tank maintenance, you might even see your black moors make into 20 years of age.
Temperament and Activity Level
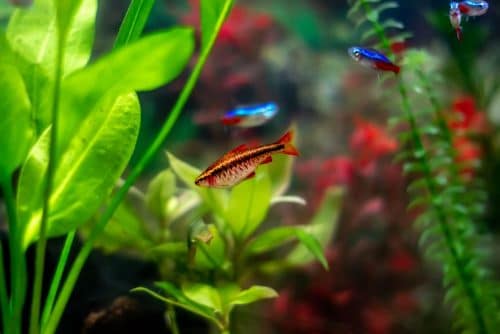
Whether you put your black moors in with other tank mates or in a community tank, you will be pleased by their friendly and peaceful temperament. That said, the best course of action is to put these slow swimmers in with a shoal of other black moors.
Not only that, but their low activity level also makes black moor goldfish care easy: these fancy goldfish like to simply swim back and forth across their tank without bothering any other fish. You’ll often find them swimming leisurely in the middle of the tank, although you shouldn’t be surprised to see your fish concealing him or herself in the decorations or in the substrate.
What are Good Tank Mates?
Choose the members of your aquarium carefully. As these fish are fragile and peaceful goldfish carassius auratus, their chosen companions should have a similar disposition and set of traits. This is a very important aspect of black moor goldfish care as it ensures that your fish won’t be bullied or injured. This is not only limited to fin nipping but extends to their eyes, which are easily injured.
Good Tank Mates
For non-fish the best tankmates would be:
- White Cloud Minnows
- Dojo Loach
- Giant Danios
Many fish available will need different water temperature requirements. Peaceful and schooling fish like minnows your Goldfish may try to eat, but they are are fast enough to get away and not be stressed out in larger tanks. You will need to worry about feeding though as fancy goldfish are slow swimmers and eaters.
Black Moors have terrible eyesight. Tank decorations with sharp edges become hazards. The tank you build for this fish has to account for what it cannot see.
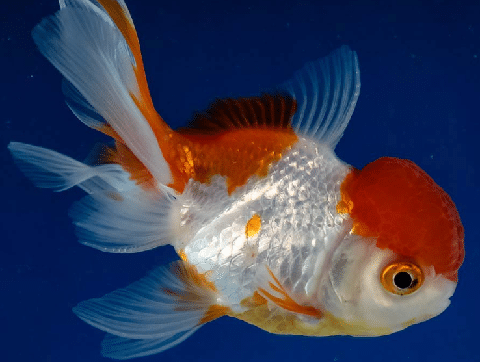
The best tank mates for a black moor goldfish would be other goldfish of the fancy variety, such as:
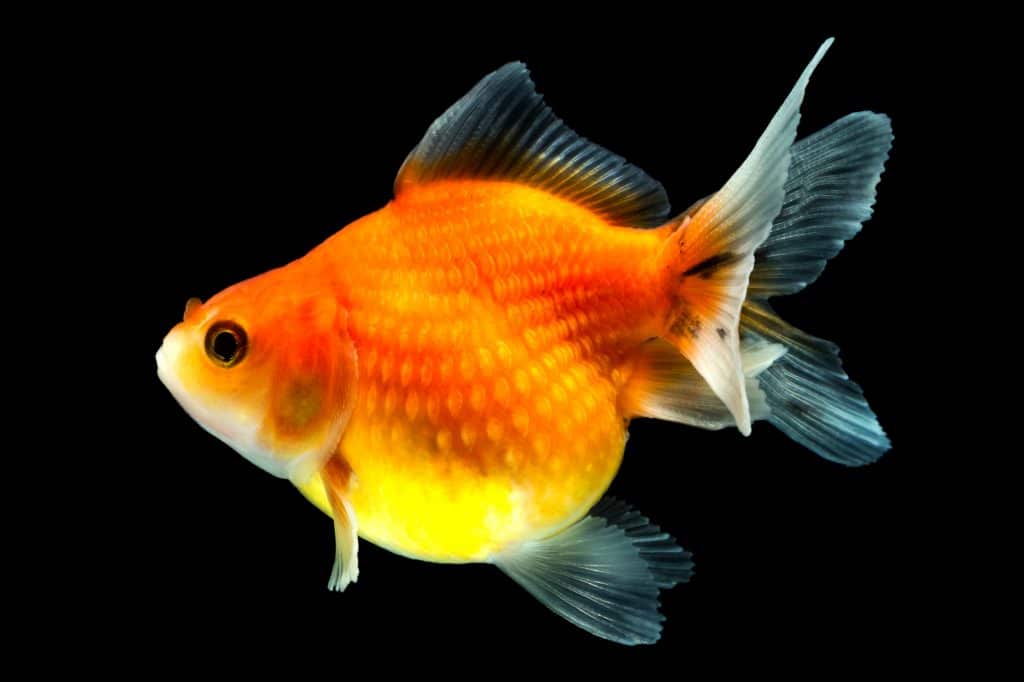
- Fantail goldfish
- Lionhead goldfish
- Oranda Goldfish
- Pearscale Goldfish
- Ranchu Goldfish
Inverts like freshwater shrimp are going to be a bad idea. While shrimp is fast enough to get away, the stress of being constantly chased could make them jump out of the tank. Snails would be a better choice with nerite and the mystery variety being known to coexist peacefully with your black moors.
Fish Species to Avoid
You should at all costs avoid pairing your black moor with territorial or aggressive goldfish varieties. Such types of fish are known to nip at the long flowing fins of black moors, which can cause fin rot. It can also be quite stressful for black moors to try and avoid aggressive tank mates, which in turn might affect their health and lifespan. Such tankmates that do not pair well with Goldfish would be Cichlids.
What Do Carassius Auratus Eat?
Most goldfish varieties are omnivorous fish, which means they is fed food of the meat as well as plant variety. Although this extends your range of options, you should also be warned that, as fish with big and hungry appetites, your black moors are liable to start feeding on anything you put in your aquarium.
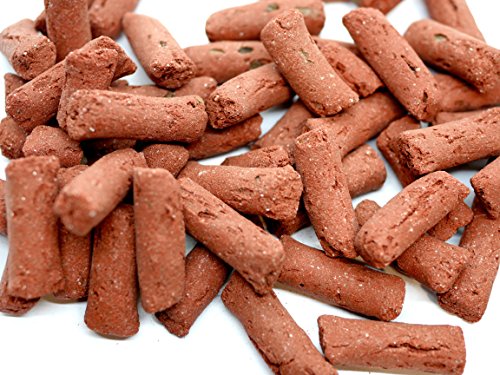
Dry pellets and flakes can easily be fed to a black moor. That said, you should also aim to create variety in their diet to ensure good health. You can feed them vegetables such as broccoli, spinach and lettuce. Make sure to stream your veggies before introducing as this sterilizes them. Specialized frozen foods are highly recommended as they offer the best nutritional value you can get in the hobby. High protein foods help to bring out the black coloration of these fish quicker.
What About Live Foods?
As carnivores, black moors take well to certain easily digestible freeze-dried live foods or frozen live foods, such as blackworms, bloodworms, brine shrimp, tubifex worms, and daphnia (brine shrimp has the lowest nutritional value of all I mentioned). Before feeding freeze-dried foods to your black moors, however, you should soak the food in some aquarium water first to facilitate a smoother digestion process. Soaking with supplements like Vita-Chem will help boost the nutritional content of the food.

Vita Chem
One of the best nutritional supplements you can use for freshwater fish. Works great with pellet and fried dried foods.
How Much and How Often to Feed
Most goldfish carassis auratus varieties should be given food several times a day (though most fish keepers can only do twice a day), and the same is true for the black moor goldfish carassius auratus. But keeping their big appetite in mind, it’s also important not to overfeed your black moors. Their internal organs are squeezed into a compact body, which can lead to fatal digestive problems such as constipation, when the fish is given excessive food.
Moreover, be sure to eliminate any leftover food so as to keep the water unpolluted and safe for your fish to live and thrive in. Using a rule of thumb of only feeding what your fish can eat in 2 minutes is a good guideline to work with.
How to Set Up Your Fish Tank
Remember, goldfish are descended from carps. As such, it’s best to try to ensure a tank environment that closely mimics the natural habitat of a carb. Black moors have weak eyesight and love to feed on almost any small object they find, which is important to keep in mind. Murky, moderately brackish water with a gravel substrate should be a good fit for your black moors.
Furthermore, considering that they are weak swimmers, the optimal tank shape for them is long rather than tall. This gives them more swimming space. If it’s tall, it is harder for black moors to reach any food on the surface.
Minimum Tank Size Considerations
Despite their relatively small size, these fish do take up a lot of space due to their long and large fins. So, for a single black moor goldfish, you should provide at least a 20 gallon aquarium. Then, for every new fish you add, you should add another 10 gallons.
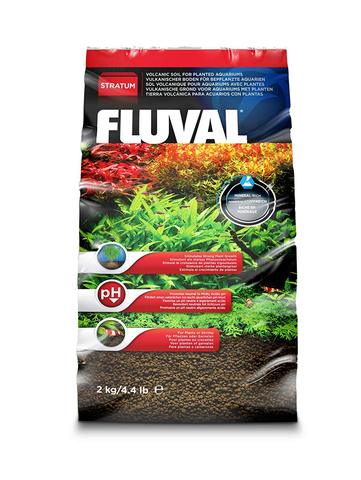
Substrate
Care should be taken when selecting substrates for goldfish. Goldfish will regularly dig in the substrate and with their large mouths, it is easy for them to accidentally shallow gravel. I would recommend a sandy substrate for goldfish as this allows them to forgage freely and split out any sand bits as they dig around the tank.

Caribsea Super Naturals Sand
This sand by Caribsea is perfect for supporting the foraging habit of goldfish. Also works with bottom feeders and discus fish.
Decor
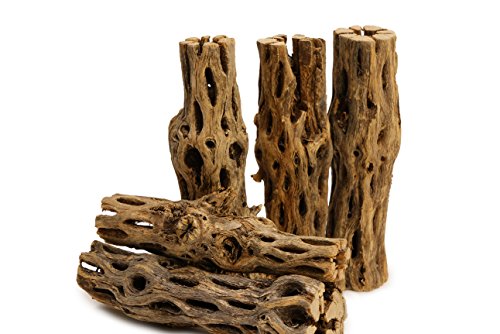
Despite their slow swimming speed, black moors are big eaters who are prone to nibbling on almost anything they find. So, it’s best to avoid putting a lot of tank décor in their aquarium. They might just start chewing on it. That said, if you must include decor, ensure that they have smooth surfaces and don’t have any sharp or protruding edges. It’s best to steer clear of driftwood and sharp rocks.
Plants
As they are known diggers, don’t be surprised if your fish start digging up any live plants you’ve planted in their substrate. The best way to work around their digging nature is to attach plants to aquarium rocks. You need to be selective on your plants though, as goldfish will eat many live plants and their temperature requirements are not compatible with most plants.
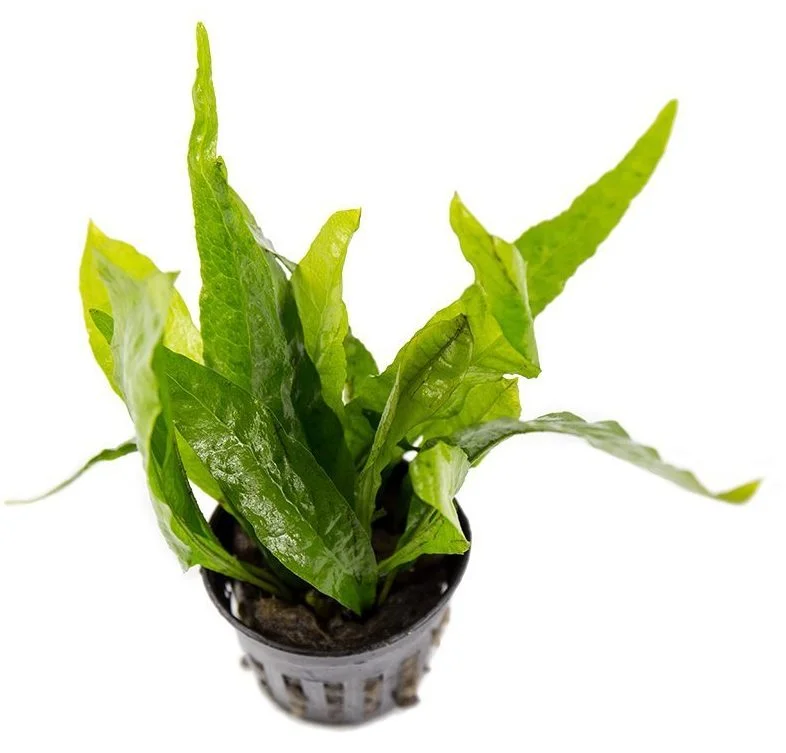
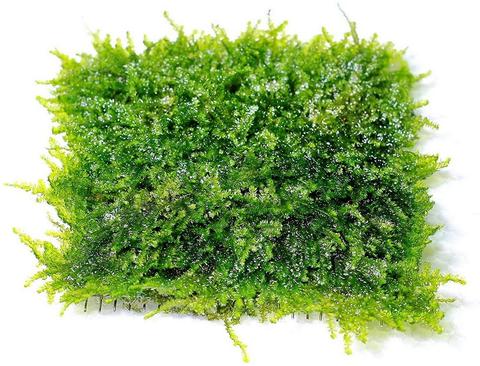
The safest plants to use on goldfish would be:
- Java Fern
- Anubias
- Java Moss
- Hortwort
- Water Sprite
All the plants above are beginner aquarium plants, so you can still maintain a easy to keep tank! You can also use artifical plants. Silk plants are better to use than plastic ones as they will lack the sharp edges that will harm your fish.
Water Quality (Care)
Here are the specifics of maintaining optimal water quality.
Filtration
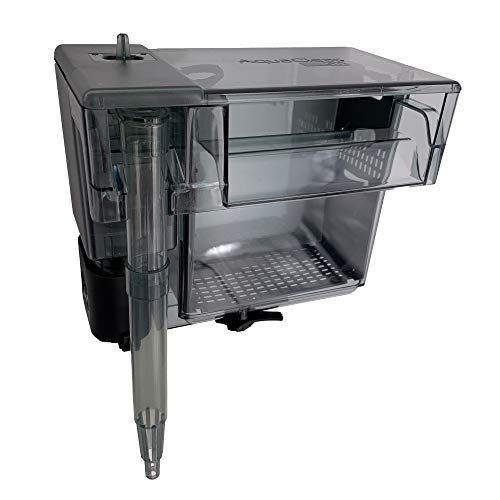
It’s recommended to include an efficient filter in your black moor’s tank. This ensures that the water stays clear, which is important since black moors produce a lot of waste. For smaller tanks a quality hang on filter like an aquaclear or seachem tidal would work well.
For larger tanks, it would be best to consider using a well made canister filter. Goldfish are bulky and large. This size makes them hard on your bioload. A canister filter is designed to handle large bioloads. With goldfish tanks, I would recommend loading up on a quality biological media that can process nitrates. I feel Biohome Ultimate Filter Media is the best complete filtration media when it comes to high bio-load non-planted tanks.
Biohome Ultimate Filter Media
Editor’s Choice!
This is the best media you can buy for your aquarium. It does it all – removes ammonia, nitrite, and nitrates
Water Parameters
As black moors are an artificially bred species, there is no exact habitat you can replicate for them. However, we do know that their black color appears more quickly in low water temperatures. So don’t set the tank up in any room that get hot, or near any heat source (e.g. A fireplace), as this will affect water temperatures. They also benefit from neutral pH levels. Let’s look at some specifics of water conditions for these freshwater fish:
- Water Temperature: 65.0 to 72.0° F / 18.3 to 22.2° C
- pH Range: 6.0 – 7.5
- Lighting: Strong lighting is required to help your ocularly impaired fish.
- Hardness Range: 5 – 19 dGH
- Salinity: Below 10%; specific gravity should be below 1.002
- Water Movement: Moderate
Aquarium Maintenance
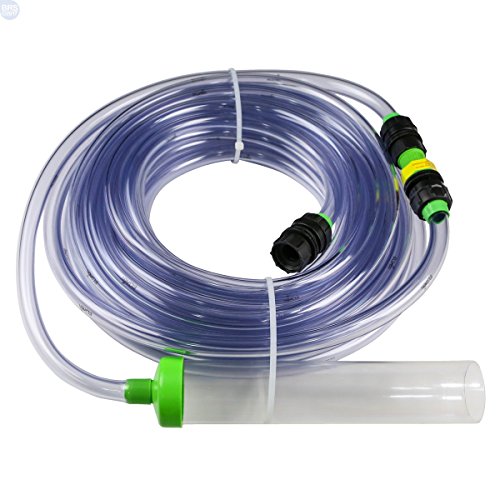
It’s of utmost importance to ensure clean water conditions for your fish as it directly affects their health. About 20% of the water should be changed on a monthly basis to keep phosphate and nitrate levels at a healthy level. What’s more, it’s recommended to make use of a gravel siphon to remove elements such as organic debris and sludge.
Test Water Conditions
If you’re committed to ensuring a long life for your fish, you should invest in an aquarium test kit. It allows you to determine whether the mentioned water parameters are being maintained properly in your black moor’s tank.
How to Breed
It’s relatively easy to breed black moors on your own in a tank. To get your black moors to mate and start laying eggs, create the following conditions.
Breeding Tank Setup
Start by moving your pair of breeding black moors to a separate tank (video by All Blue Amante Del Pesce). You should aim to ensure that there are adequate surfaces such as plants and decor for the female to lay eggs when it’s time.
Breeding Temperature
Once your fish are in their tank, start by slowly lowering the temperature to 60° F (15.5° C). Then, gradually increase the water temperature by 3° daily until your fish look ready to mate. You should also make daily water changes of 20%. This will bring on spawning season.
After Breeding
Once your female fish lays her eggs, the male will go on to fertilize them. This process involves a courtship ritual in which the male chases the female around for some time. This might take several hours and you might see as many as 10,000 eggs in the tank by the end of it. Once the eggs appear, swiftly remove the pair back into their original tank as they will otherwise eat the eggs.
Feeding Your Fry
In a week, you’ll have black moor fancy goldfish babies. Congrats, you’ve unlocked a new level in fish keeping! Keep feeding them foods high in protein and iron until they take on an adult size. In about two months, you can start feeding them the same food you give to their parents.
Health and Disease
Concerned about the health of your freshwater fish? Here’s what you need to know if you have a sick fish.
Signs of Health
If your fancy goldfish are swimming about normally, that’s a good indicator of health. They should be regularly eating and should sign good colors and believing should not be labored.
Signs of Ill Health
Here are the three main indicators of poor health in your black moor goldfish that anyone practicing fish keeping should know:
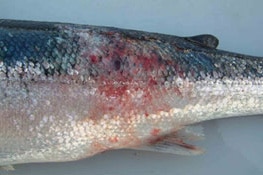
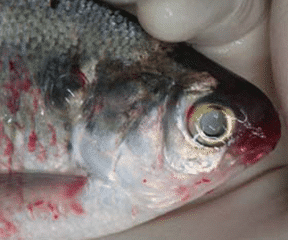
- Their appearance. Note whether there is any dull coloration, color changes, or colorless patches. If you notice any significant color changes, your black moors is suffering from velvet disease or skin disease.
- Their movements. Healthy goldfish swim and bob along the middle of the tank. So if you see that they are sitting at the bottom of the tank or floating on the surface, they is afflicted by swim bladder.
- Their appetite. If you notice that your goldfish is not eating properly, they is suffering from ich, which occurs when there is a parasitic protozoan in the body of the fish. In advanced cases, you might also notice white spots, rapid breathing, and isolation.
Common Health Issues and Treatment
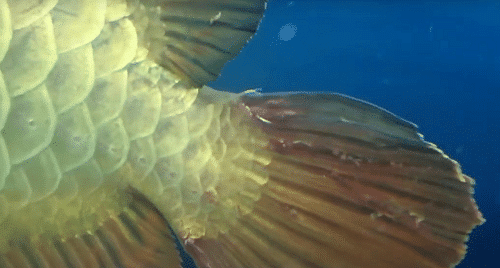
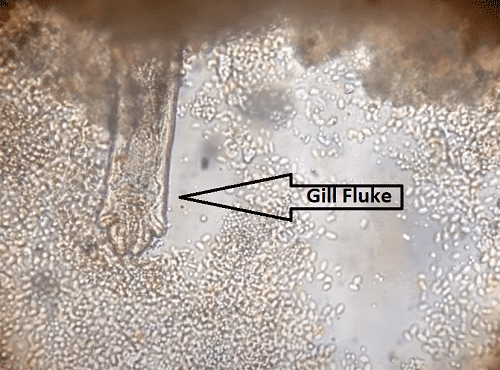
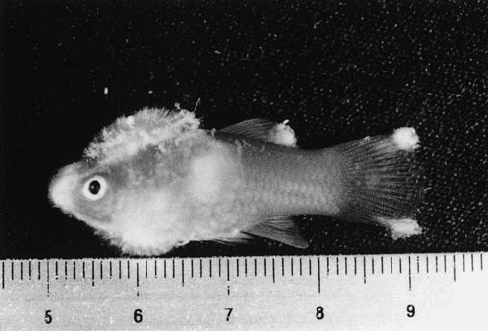
Like all common freshwater fish, black moors are at risk of being inflicted by ich, fin rot, fungus, and flukes. With their long fins, they are particularly likely to catch fin rot. However, this is prevented if you maintain a high quality of water in their tank.
If you suspect a swim bladder (symptoms discussed above), check out my freshwater fish diseases post. There is a great video and explanation on treatment and alternative long-term solutions like fabricated “wheel chairs” that hobbyists have used to save their fish.
As a telescopic goldfish breed with poor eyesight, black moors are prone to eye diseases caused by fungi and bacteria (particularly if their tank is not clean and well-maintained). When handling your black moors, always be very cautious so as not to accidentally injure or damage their eyes.
It’s important to keep ammonia and nitrate levels low in your black moor’s goldfish tank. To ensure this, you should aim to replace about 25% of the water volume on a weekly basis. You need to increase the volume based on your test results. Regularly testing your water with an aquarium test kit will help you adjust your water change routine to manage nitrates.
Where to Buy
Black moor goldfish are quite inexpensive and are commonly found. You can find them in chain pet stores. However, I would recommend you either purchase at a specialty local fish store or if you cannot find a good one in your area, looking into an online fish store.
Frequently Asked Questions
Are they hard to take care of?
No, they’re relatively low-maintenance: as long as you feed them in a timely manner, maintain tank conditions and remember to conduct regular water changes, you’ll be good to go!
How long do they live?
Like the majority of goldfish species, these dragon fish live up to 10 to 15 years.
Can they live in a 3-gallon tank?
No. A black moor needs at least a 20 gallon aquarium. And, for every new fish you introduce, you should add 10 gallons of water to the aquarium.
Their small size at pet stores can fool a novice fish keeper into thinking that it’s okay to place your black moor goldfish in a small aquarium or fish bowl, but they need a lot of space to swim slowly about and they get large. With their bulky size, goldfish produce a lot of waste; so the smaller the aquarium, the more quickly the water will go toxic and endanger the life of your fish.
Are they aggressive?
No. On the contrary, black moors are some of the most peaceful species of goldfish you’ll find, which makes them agreeable tank mates like many other goldfish species. Their physical limitations (i.e. Poor eyesight and heavy body) also make it difficult for a black moor to be aggressive.
Closing Thoughts
This fascinating fish might make it seem like they’re difficult to care for, but a species like the black moor goldfish makes it obvious that that’s a misconception. As long as you can commit to ensure optimal tank standards, and don’t place them with any aggressive fish species, your gentle and beautiful black moors will stay by your side for at least 10 years! I hope you’ve found this guide helpful in understanding black moor goldfish care. Your feedback would be appreciated, so please leave a comment below!
📘 Want to learn more? This article is part of our complete Freshwater Fish Guide. Your ultimate resource for freshwater species, care tips, tank setup, and more.


 >><
>><![The 11 Best Aquarium Heaters Of 2026 [Tested & Reviewed]](https://aquariumstoredepot.com/wp-content/uploads/Best_Aquarium_Heaters_c7430c47-2206-4be5-95eb-abd20ab344ac-1.png)