If I could only add one invert to any planted tank I own, it would be Amano shrimp. Every single time. They work harder, eat more algae, and handle themselves better in a community tank than any other freshwater cleanup crew species I’ve kept. But “easy cleanup crew” is where most care guides stop, and that’s where most beginners go wrong.
Most people buy three. They should buy ten.
Amano shrimp are tougher to keep than their reputation suggests. Copper in medications or plant fertilizers can wipe out a colony before you notice anything is wrong. They can’t breed in a standard freshwater tank without a separate brackish grow-out setup that most hobbyists will never build. And they’re deceptively sensitive to acclimation stress when first introduced. Get the conditions right and these shrimp are genuinely thriving workers. Get them wrong, and you’ll be buying replacements on a loop without understanding why.
Table of Contents
- Key Takeaways
- Species Overview
- Classification
- Origin and Natural Habitat
- Appearance and Identification
- Average Size and Lifespan
- Care Guide
- Tank Mates
- Food and Diet
- Breeding and Reproduction
- Molting
- Common Health Issues
- What It Is Actually Like
- Common Mistakes to Avoid
- Should You Get Amano Shrimp?
- How It Compares
- Where to Buy
- FAQs
- Closing Thoughts
- References
Key Takeaways
- Amano shrimp (Caridina multidentata) are the most effective algae-eating invertebrate in the freshwater hobby. Nothing else comes close for biofilm and hair algae.
- Buy more than you think you need. Three shrimp in a 20-gallon (75-liter) tank is decoration. Ten or more creates meaningful algae control.
- Copper is fatal. Check every medication, fertilizer, and tap water additive for copper content before using it in a tank with Amanos.
- They cannot breed in a standard freshwater aquarium. The larvae require brackish water to survive. Most hobbyists buy replacements rather than breed them.
- A sponge pre-filter on all intakes is mandatory. Standard filter intakes will catch and kill them.
- Amano shrimp are sensitive to poor acclimation. Use the drip method when introducing them to a new tank.
Species Overview
| Scientific Name | Caridina multidentata |
| Common Names | Amano Shrimp, Yamato Shrimp, Japonica Shrimp, Algae Eating Shrimp |
| Family | Atyidae |
| Origin | Japan, Taiwan |
| Care Level | Intermediate |
| Temperament | Peaceful |
| Diet | Omnivore / Algae grazer |
| Tank Level | All areas |
| Max Size | 2 inches (5 cm) |
| Min Tank Size | 5 gallons (19 liters) |
| Temperature | 65°F to 78°F (18°C to 26°C) |
| pH | 6.5 to 8.0 |
| Hardness | 6 to 8 dKH |
| Lifespan | 2 to 5 years |
Classification
| Order | Decapoda |
| Suborder | Pleocyemata |
| Family | Atyidae |
| Genus | Caridina |
| Species | C. multidentata (Stimpson, 1860) |
Taxonomy note: For most of aquarium hobby history, this species was known as Caridina japonica (de Man, 1892). In 2006, Yamamoto and Hori’s research established that C. japonica was a junior synonym of the earlier-described C. multidentata (Stimpson, 1860). The correct scientific name is now Caridina multidentata, though Caridina japonica still appears widely in older care guides and some retail labeling. Both names refer to the same species.
Origin and Natural Habitat
True Amano shrimp are native to Japan and Taiwan. In Japan, they’re found in fast-moving coastal streams and rivers in Shikoku and Kyushu. They have an amphidromous life cycle, meaning they migrate between freshwater and saltwater at different life stages: adults and juveniles live in freshwater, but larvae hatch and must reach brackish or marine water to develop. This is the biological reason they’re nearly impossible to breed in a standard home aquarium.
Takashi Amano, the founder of modern planted tank aquascaping, popularized these shrimp specifically for algae control in his Nature Aquarium style tanks in the 1990s. The shrimp was named in his honor. His approach, using dense planting, CO2 injection, and macro nutrient dosing, is still the environment where Amano shrimp thrive most visibly. In my experience with Tom Barr’s balanced macro dosing approach in heavily planted setups, Amanos in those tanks are genuinely fat, active, and working constantly. The more plant surface area available, the more biofilm and soft algae they can graze on between feedings.
Appearance and Identification


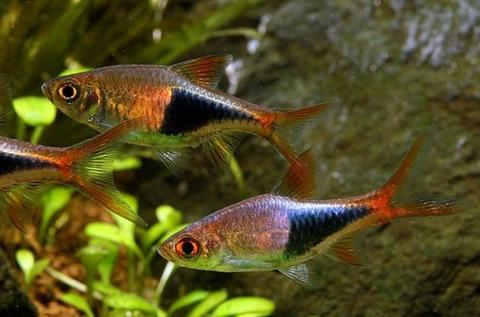
Amano shrimp have translucent to pale gray bodies with a distinctive tan or brown pattern running along the back and sides. A white or light stripe runs from head to tail. The body is covered in small dots and dashes of brown that form the characteristic spotting pattern. Their black eyes stand out clearly against the pale body. They’re not colorful shrimp in the way cherry shrimp are. Cherry shrimp get the color; Amanos get the size and work ethic.
Male vs. Female
Sexing Amano shrimp is straightforward once you know the pattern differences. Females are larger overall and show an elongated row of brown dashes along the lower body. Males are smaller with a pattern of scattered dots rather than the elongated dashes. Females also develop a visible “saddle” area for carrying eggs. A fully grown female will typically be noticeably larger than a male of the same age.
- Female: Larger body, brown dashes along the lower sides, visible saddle, more prominent white stripe along the top
- Male: Smaller, brown dots rather than dashes, no saddle, slightly more faint stripe
Females will attempt to breed shortly after molting, releasing pheromones that trigger a frantic swimming display in males throughout the tank.
Average Size and Lifespan
Amano shrimp reach about 2 inches (5 cm) at full size. Females consistently run larger than males. Their larger size compared to cherry shrimp is one of the key reasons they fare better in community tanks: most small community fish can’t fit a full-grown Amano in their mouth.
Lifespan in a well-maintained freshwater aquarium is typically 2 to 3 years, though some individuals reach 5 years with excellent care and stable parameters. The most common cause of shortened lifespan is repeated exposure to trace copper or chronic low-level parameter stress.
Care Guide
ASD Difficulty Rating: Intermediate (5/10)
Amano shrimp are easy to keep alive in stable, established tanks but have hidden demands that catch beginners off guard. Copper sensitivity, acclimation stress, and molting-related problems require more attention than the “beginner shrimp” label suggests. In a mature planted tank with clean parameters, they’re genuinely low maintenance. In a new tank or a medicated system, they’re unforgiving.
Tank Size
The minimum tank size for Amano shrimp is 5 gallons (19 liters), but they perform best and show their full behavior in larger setups. The rule of thumb is one shrimp per 2 gallons (7.5 liters), though this is a rough guide. For meaningful algae control in a 20-gallon (75-liter) planted community tank, plan on 10 or more shrimp. Three or four shrimp in that same tank will look nice but won’t move the needle on algae.
Amano shrimp are escape artists. They will find any gap in a lid and jump through it, especially when first introduced or after a water change. A tight-fitting cover is mandatory. Mesh nets are too wide for shrimp-sized gaps. Glass lids or solid covers are best.
Water Parameters
| Temperature | 65°F to 78°F (18°C to 26°C) |
| pH | 6.5 to 8.0 |
| Hardness (KH) | 1 to 10 dKH |
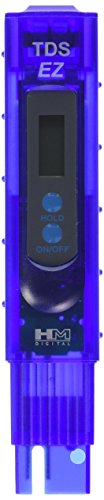
| TDS | 150 to 200 ppm |
| Ammonia | 0 ppm |
| Nitrite | 0 ppm |
| Nitrate | Under 20 ppm |
| Copper | 0 (lethal at trace levels) |
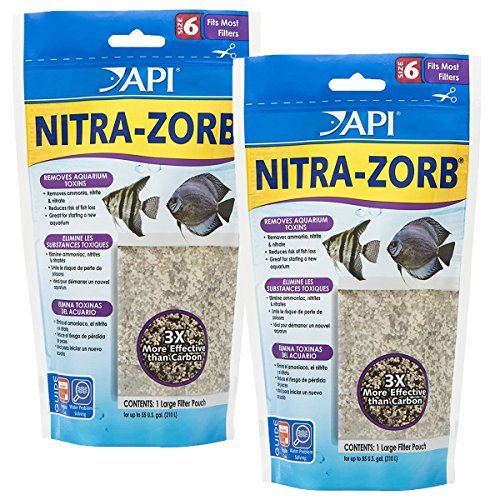
Amano shrimp are more parameter-tolerant than many caridina species but are strictly sensitive to copper, ammonia spikes, and rapid parameter changes. The TDS range of 150 to 200 ppm is similar to cherry shrimp. Monitor with an aquarium test kit regularly and perform water changes of 25 to 30% every two weeks. Check water hardness if you’re experiencing persistent molting problems: low GH is a common cause of failed molts.
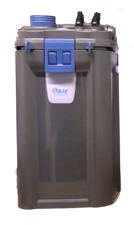
Filtration and Water Flow
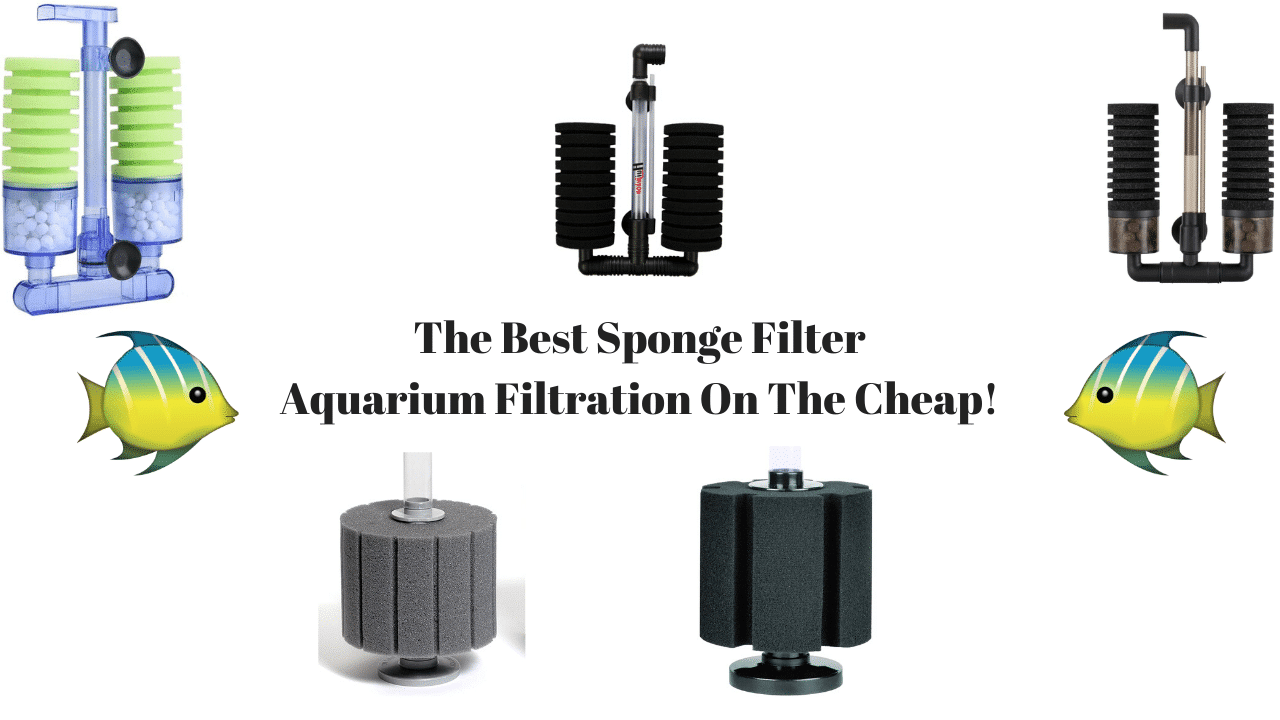
Amano shrimp need gentle filtration. Strong flow creates stress and can exhaust them. More critically: standard filter intakes will catch and kill them. A sponge filter is the safest option for a shrimp-only or shrimp-primary tank. In community tanks with larger filters, cover all intakes with a pre-filter sponge. This is not optional.
Sponge filters also provide an additional benefit: Amanos graze constantly on the biofilm that builds up on the sponge exterior. It’s an active feeding area for them between regular food offerings.

The Best Sponge Filter
With a name brand and high quality reputation, the Bacto Surge separates itself from the pack.
For community tanks where you need a hang-on-back or canister filter for fish filtration, fit a sponge pre-filter over every intake. Replace the sponge every two to four weeks so it doesn’t restrict flow.
Lighting
Amano shrimp have no specific lighting requirements. They adapt to any light level the tank uses. If you’re running a planted tank with higher light and CO2, they’ll be perfectly comfortable and more active in the abundant algae growth that setup produces. Dim planted tank setups work just as well. Match lighting to your plants, not to the shrimp.
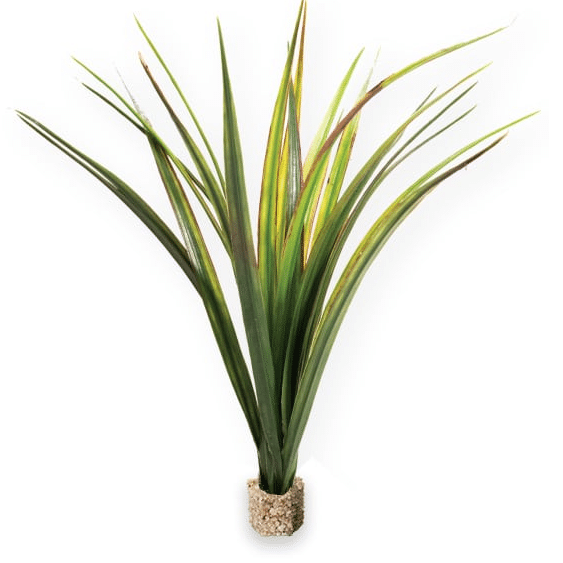
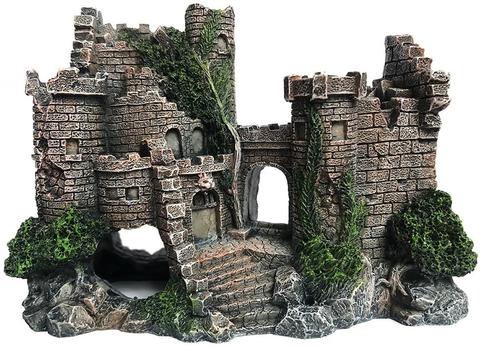
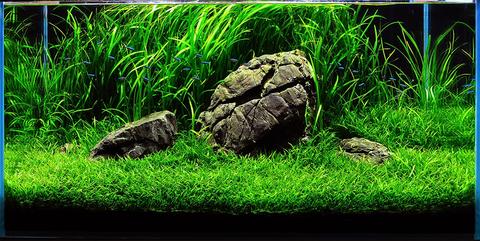
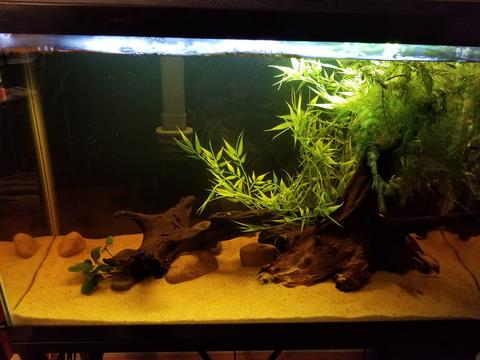
Plants and Decorations
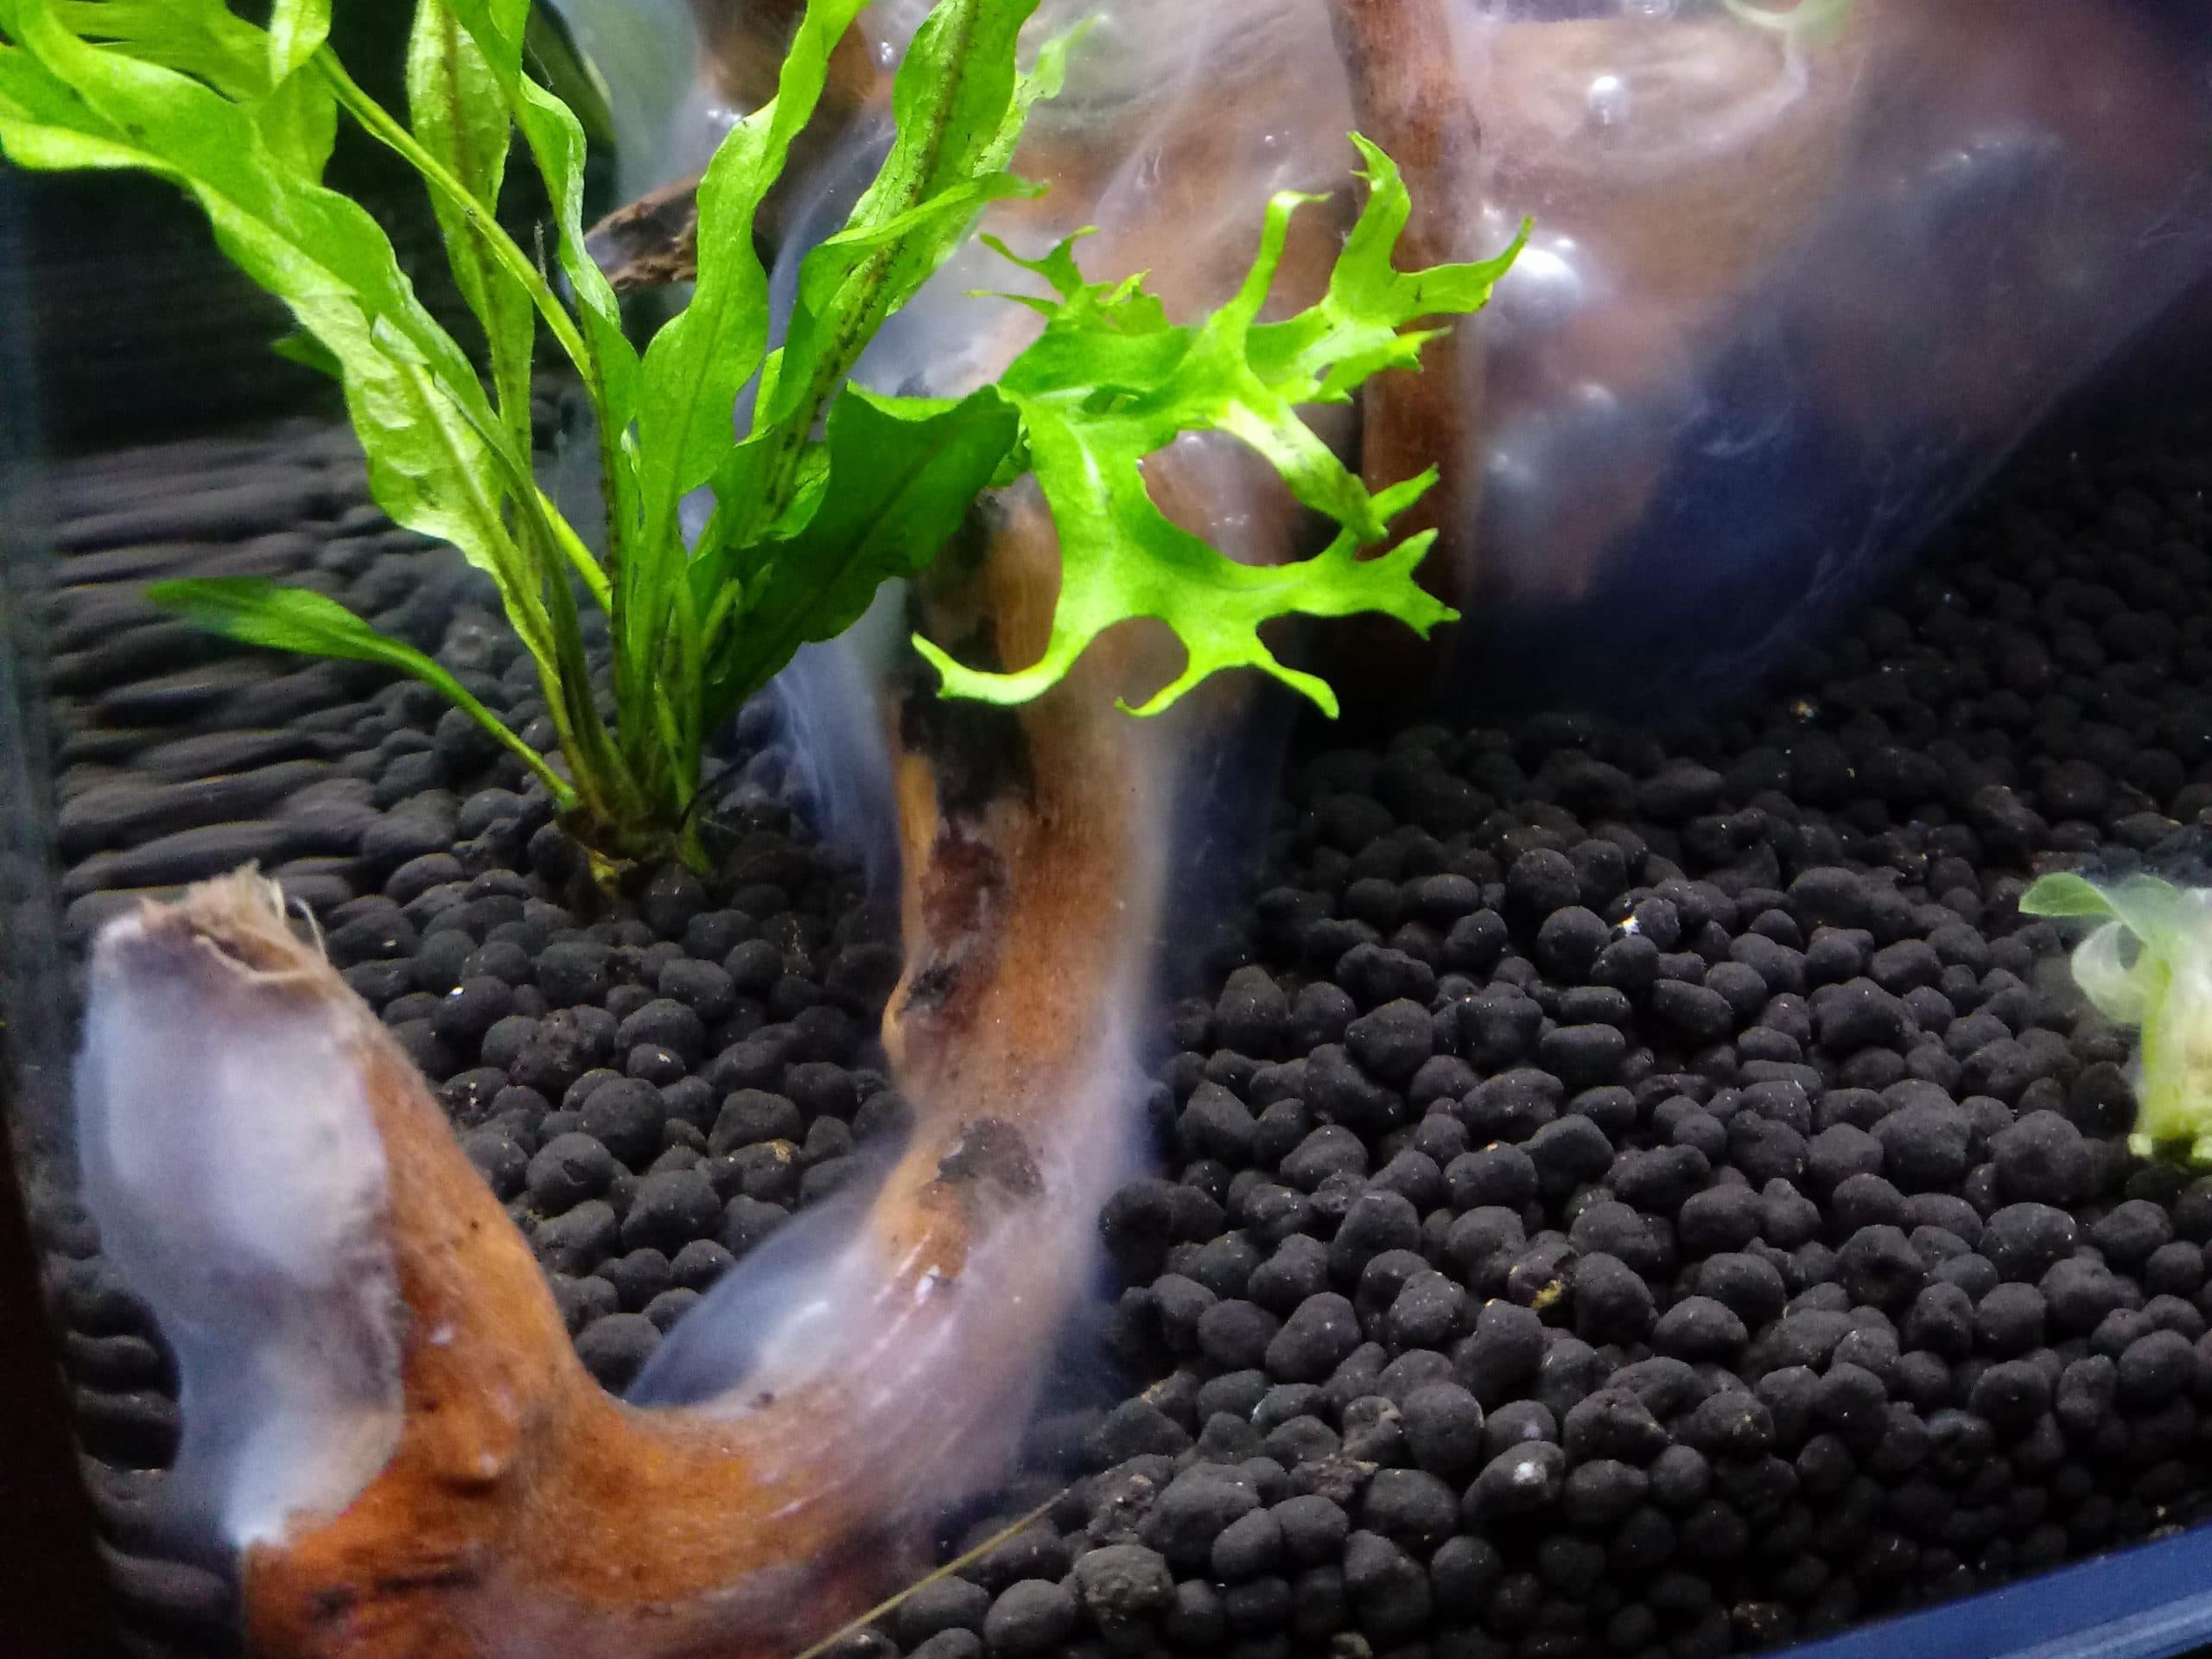
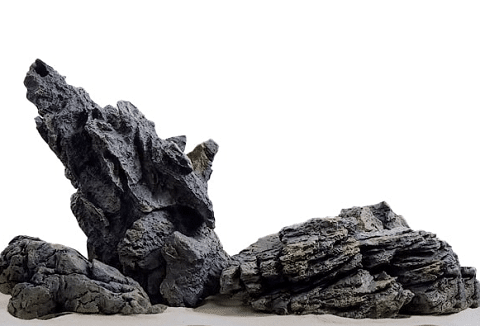
Dense planting is where Amano shrimp thrive. More plant surface area means more biofilm, more algae, and more foraging opportunity. They clean every surface they can reach: plant leaves, driftwood, rock faces, substrate, and the glass itself. Plants also matter for molting cover. After molting, Amanos are soft and vulnerable for a day or two and need places to hide.
Good plant options for Amano tanks:
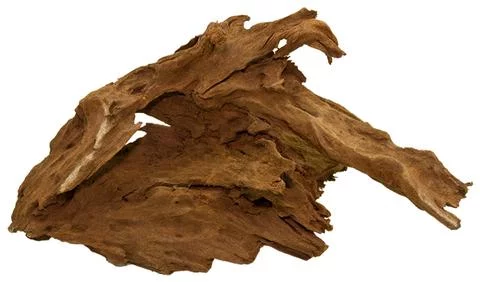
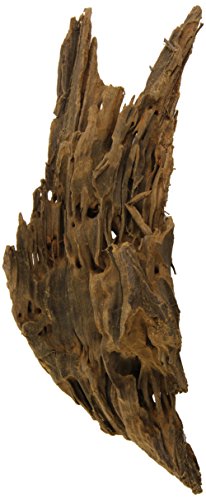
Driftwood is particularly valuable. Amanos graze on the biofilm that develops on wood surfaces and seem to prefer it as a primary foraging location. Aquarium driftwood stands out visually against Amano’s pale body and creates a natural contrast that looks excellent in planted setups.
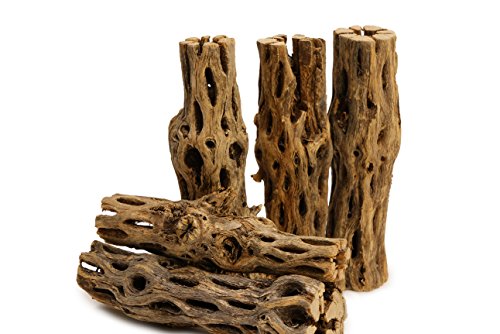
Cholla is best known for being an excellent wood for pet shrimp. It naturally decays and provides both food and shelter.
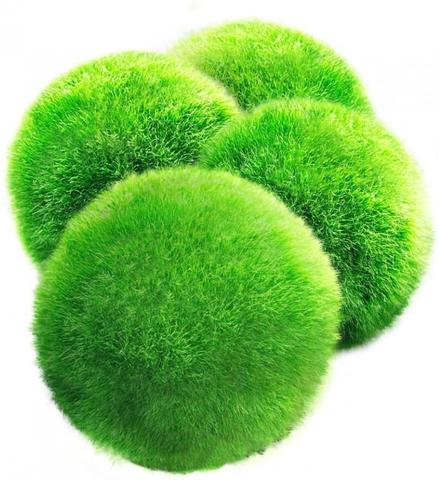
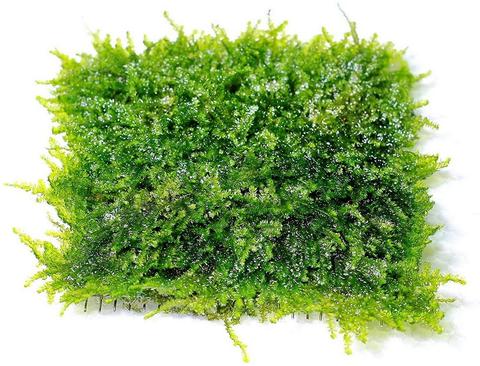
Moss is valuable specifically for molting cover. A dense patch of Christmas Moss or java moss gives freshly molted shrimp a place to hide while their shells harden.
An easy to care ground cover plant that is an excellent choice for shrimp tanks. Provides cover and a foraging surface.
Substrate
Amano shrimp spend much of their time at the substrate level and graze on it constantly. Fine-grain substrates work better than coarse gravel for shrimp: more surface area for biofilm, easier foraging. Shrimp-specific substrates like planted tank substrates that buffer pH toward slightly acidic are ideal in planted setups. Rinse any substrate thoroughly before use.
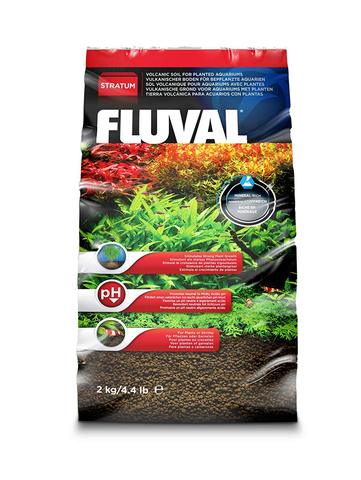
Best Value
A beginner-friendly alternative to ADA Soil. Works well for planted tanks and shrimp setups.
Tank Mates
Best Tank Mates
Amano shrimp are almost universally found in planted and community tanks, not shrimp-only setups. Their 2-inch (5 cm) size gives them protection that smaller shrimp species don’t have. The following fish coexist well with Amanos in most setups:
- Betta Fish (with caution: some bettas are shrimp-safe, others aren’t; use a larger tank with plenty of cover)
- Guppies
- Small Tetras such as Neon Tetras
- Peaceful barbs like the Cherry Barb
- Zebra Danios
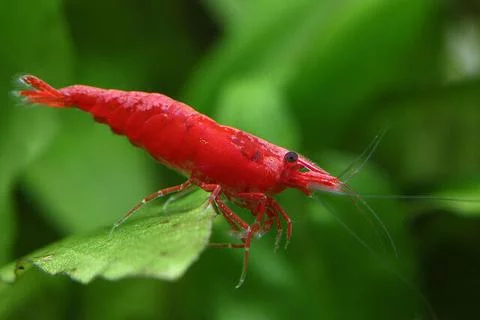
- Other shrimp species such as cherry shrimp (Amanos will not crossbreed)
Tank Mates to Avoid
Any fish with a mouth large enough to swallow a 2-inch (5 cm) shrimp is a risk. Amanos are also vulnerable immediately after molting, when their new shell is soft and other fish may pick at them.
- Cichlids
- Goldfish
- Large barbs, aggressive loaches, large catfish
- Any fish with a mouth large enough to fit a full-grown shrimp
Food and Diet
In a planted tank with biofilm and algae, Amano shrimp rarely need supplemental feeding. They graze constantly on algae, biofilm, and decaying plant matter throughout the day. The challenge is actually the opposite of what most people expect: feed them too well and they stop eating algae, which defeats the purpose of keeping them.
In tanks with minimal algae or multiple shrimp competing for resources, supplement feeding with specialty shrimp foods. Dennerle Shrimp King Food works well: the pellets are small enough for shrimp to grab and carry away from the competition, and the formula is targeted for invertebrate nutritional needs.
In a community tank, note that Amanos are aggressive feeders and will outcompete slower fish during feeding time. Scatter food to give slower fish a chance to eat before Amanos claim everything.

Great For Freshwater Shrimp!
A targeted food for shrimp that supports color and condition. Small pellets that shrimp can carry away and eat undisturbed.
Breeding and Reproduction
Amano shrimp are nearly impossible to breed in a standard home aquarium. This isn’t a care failure. It’s biology. The larvae hatch in freshwater but require brackish water to survive and develop. Without a separate brackish grow-out system and live phytoplankton for the zoea stage, the larvae die within days. Most hobbyists buy replacements rather than attempt breeding.
Sexing Amano Shrimp
Female Amano shrimp:
- Larger overall body size
- Elongated brown dashes along the lower body (not dots)
- Visible saddle area for carrying eggs
- Whiter, more prominent stripe running from head to tail
Male Amano shrimp:
- Smaller than females
- Brown dots along the body (not elongated dashes)
- No saddle
- Slightly less prominent stripe
Females will attempt to breed after molting, releasing pheromones that cause males to swim frantically throughout the tank searching for her. This “mating frenzy” is a common sight and how you know breeding has been triggered.
Breeding Process (Advanced)
For the serious hobbyist who wants to attempt breeding:
- Move a berried female to a separate brackish tank (35 PPT / 1.026 SG) before larvae hatch
- Transfer larvae within minutes of hatching: they need brackish water immediately to survive
- Feed larvae live phytoplankton or diatoms. Algae Barn Ocean Magik phytoplankton is a reliable choice
- Larvae reach juvenile stage around 20 days
- Drip acclimate juveniles from 35 PPT to 5 PPT over 12 to 24 hours before moving to freshwater
- Grow-out tank should be 2.5 to 5 gallons with water changes every 2 to 4 days
- Do not add juveniles to a tank with fish until they reach at least 1 inch (2.5 cm)
The female reproductive cycle timeline:
- Molt to berried: 1 day
- Berried to larvae drop: approximately 17 days
- Drop to next batch: 5 to 7 days
- Larvae to juvenile stage: approximately 20 days
Amano shrimp will not crossbreed with other shrimp species. If you’re maintaining a stable mixed-shrimp tank and want to avoid breeding chaos, Amanos are reliable on this point.

Best Phytoplankton
Loaded with 4 types of phyto. Excellent for shrimp larvae during the zoea stage of development.
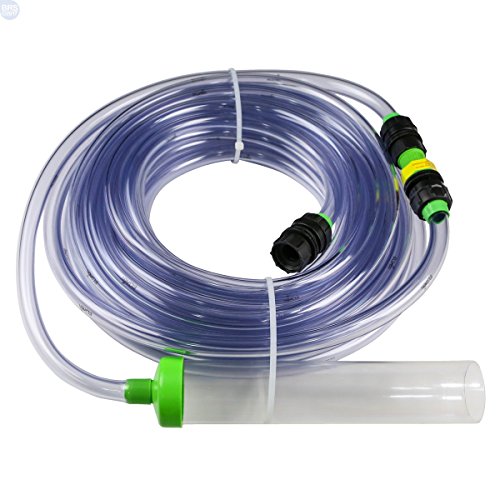
For the freshwater-to-brackish acclimation step, use a precision drip acclimator. I recommend Innovative Marine’s Accudrip for the precise flow control it provides during the critical salinity transition.
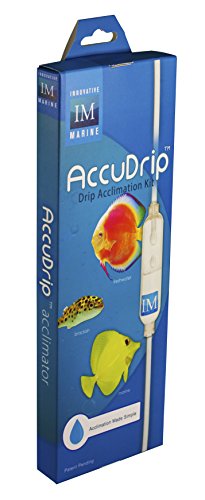
Precision drip acclimator for sensitive shrimp and fish. Essential for salinity transitions during Amano shrimp larvae acclimation.
Molting

Molting is the process by which Amano shrimp shed their old exoskeleton to grow. The shell doesn’t grow with the shrimp, so it must be periodically replaced. You’ll know a molt happened when you find a clear, shrimp-shaped shell in the tank. Don’t remove it immediately: the shrimp will often eat the shed shell to reclaim calcium and other minerals.
A freshly molted shrimp has a soft new shell for the first 24 to 48 hours. During this time it’s vulnerable to attacks from tank mates and needs hiding spots. Dense plant cover or moss is critical during molting recovery.
If you find a shrimp lying on its side and are unsure whether it’s molting or dead: a molted or molting shrimp will be white or very pale. A dead shrimp will turn orange, pink, or gray and will show signs of decomposition. A freshly shed shell looks exactly like a complete shrimp but is completely clear and hollow.
Molting Problems
Failed molts are the most common serious health issue in Amano shrimp keeping. A shrimp that gets “stuck” in its old shell will die. Common causes:
- Low GH (general hardness): Shrimp need adequate calcium and magnesium to build new shells. If your tap water is very soft, supplement with GH booster or mineral additives.
- Temperature fluctuations: Inconsistent temperature disrupts the molting cycle.
- Parameter crashes: Rapid changes in pH, ammonia spikes, or copper exposure during a molt are often fatal.
- Stress: Aggressive tank mates or sudden changes can trigger a premature molt before the shrimp is ready.
Common Health Issues
Copper Toxicity
Copper is the most common cause of sudden, unexplained Amano shrimp death. It’s lethal at trace concentrations that would not harm fish. Sources include copper-based medications (Cupramine, copper sulfate), some plant fertilizers, and copper plumbing in older homes that can leach into tap water. If your shrimp die suddenly after a water change or medication, copper is the first suspect. Test your source water and every additive you use for copper content before adding anything to an Amano tank.
Bacterial Infections
Bacterial infections typically develop after a compromised molt, an injury, or in chronically poor water quality. Signs include white or opaque patches on the body, abnormal posture, or a shrimp that stops moving. Improve water quality and isolate affected individuals. Prevention is better than treatment: maintain clean water and don’t overfeed.
Acclimation Shock
Amano shrimp are sensitive to parameter differences between the transport bag and the destination tank. Float the bag for 15 to 20 minutes to temperature-match, then drip acclimate over 30 to 60 minutes before transferring. Dumping them directly from bag to tank is a reliable way to lose them within 24 hours.
What It Is Actually Like Keeping Amano Shrimp
Amanos are not shy. They don’t hide the way cherry shrimp do when stressed. In a stable tank, they’re out and active throughout the day, methodically working every surface. They’ll graze the glass, pick through the substrate, work over the driftwood, and clean every plant leaf they can reach. Watching a group of Amanos tackle a patch of hair algae is genuinely satisfying. They pick it apart strand by strand and keep going.
In heavily planted CO2-injected tanks, using balanced macro dosing along the lines of Tom Barr’s approach, Amanos thrive visibly. They’re fat, active, and working constantly. The more plant surface area available, the more productive they are. You can almost see the correlation between the health of the tank and the behavior of the shrimp.
The mating behavior is dramatic and unmistakable. When a female molts and releases pheromones, male Amanos will swim frantically through the entire tank, bumping into everything, looking increasingly desperate. It looks like something is wrong. Nothing is wrong. It’s completely normal and usually lasts a few hours.
When a shrimp is about to molt, it will go still and hide for a day or two beforehand. After the molt, the empty shell appears and the shrimp often eats it immediately. This is also normal. They’re recycling the minerals.
Expert Take
I use Amano shrimp in my own tanks regularly. In a CO2-injected planted setup with balanced macro nutrients, they’re genuinely one of the best things you can add. Ten or more in a 30-gallon planted tank, and the algae situation takes care of itself. The one thing I tell every keeper who’s new to them: check your fertilizers and medications for copper before you add anything to that tank. I’ve seen people lose entire colonies to a single dose of a copper-based medication they didn’t think to check. That’s the only way to kill Amanos quickly and the easiest mistake to avoid.
Mark Valderrama, AquariumStoreDepot
Common Mistakes to Avoid
Hard Rule: Check everything for copper before it goes in your tank. Medications, plant fertilizers, tap water additives, even some food products contain trace copper. Amano shrimp cannot survive copper exposure at levels that fish tolerate without problems. One treatment with a copper-based parasite medication can eliminate your entire colony. Test your tap water if you’re on city water or have older copper plumbing. This is the single most preventable cause of Amano shrimp loss.
- Not buying enough. Three to five Amanos in a 20-gallon (75-liter) planted tank looks nice but doesn’t move the algae needle. You need ten or more for meaningful impact. Scale up the number to match the tank size.
- No pre-filter sponge on intakes. Standard filter intakes will catch and kill Amano shrimp. Cover every intake with a sponge pre-filter before adding shrimp to the tank.
- Poor acclimation. Amanos are sensitive to parameter differences between bag water and tank water. Always drip acclimate. Never dump them straight from the bag.
- Overfeeding. In a planted tank with algae, they don’t need supplemental food. Feed them well and they’ll stop cleaning algae. Feed them nothing and they’ll work all day.
- Expecting them to breed. They won’t in freshwater. Plan on buying replacements every few years as individuals age out.
- Low GH water. Very soft water causes molting problems. If you’re on soft municipal water, add a GH booster to maintain adequate calcium and magnesium for shell development.
Should You Get Amano Shrimp?
Good Fit If:
- You have a planted tank with algae problems that need long-term management
- Your tank is mature, cycled, and has stable parameters
- You keep community fish that are small enough to be shrimp-safe
- You’re willing to check all medications and fertilizers for copper content
- You want a highly active, visible invert that earns its place in the tank
Avoid If:
- You keep cichlids, goldfish, or any fish large enough to eat a 2-inch (5 cm) shrimp
- You routinely use copper-based medications for disease treatment
- Your tank is newly set up or has unstable parameters. Amanos don’t handle parameter swings well.
- You’re hoping to breed them. Most hobbyists never successfully breed Amanos, and the brackish larval stage makes it a serious dedicated project.
How It Compares
Amano Shrimp vs. Cherry Shrimp: Choose Amanos if algae control is the priority. Choose Cherry shrimp if color and breeding activity are what you want. Cherry shrimp breed freely in freshwater, come in vivid red and other color morphs, and are more visually striking per individual. Amanos are larger, eat more algae per shrimp, and handle a community tank more confidently. In a dedicated planted aquascape focused on algae management, Amanos win. In a nano shrimp tank where breeding colonies and color are the goal, cherry shrimp win.
Amano Shrimp vs. Nerite Snails: Both are excellent algae eaters with no natural freshwater breeding. Nerites are better at spot-cleaning diatoms and hard algae on glass and hardscapes. Amanos are better at hair algae and biofilm on plants. Many serious planted tank keepers use both together: nerites for the glass and rock surfaces, Amanos for the plants and substrate. They don’t compete and serve complementary roles.
Where to Buy
Amano shrimp are widely available. For the healthiest stock, buy from a specialty aquarium retailer or direct shipper rather than a chain store:

Best For Planted Tanks!
When it comes to algae control in a planted aquarium, Amano Shrimp are the top choice. Their appetite for hair algae and biofilm can’t be matched by other shrimp species.
- Flip Aquatics – Healthy, acclimation-ready Amano shrimp from a reputable source
- Dan’s Fish – Specialty freshwater aquarium retailer with quality invertebrate stock
FAQs
How many Amano shrimp do I need for algae control?
More than most people buy. A good starting point is one shrimp per 2 gallons (7.5 liters), but for meaningful algae control in a planted tank you want at least 10 in a 20-gallon (75-liter) setup. Three or four shrimp in that same tank will look nice but won’t significantly impact algae growth. Scale up the number to the tank size.
Can Amano shrimp breed in a freshwater tank?
No. Amano shrimp larvae hatch in freshwater but require brackish water to develop. Without a separate brackish grow-out system, live phytoplankton, and precise salinity management, the larvae die within days of hatching. This is one of the more complex invert breeding projects in the hobby. Most keepers buy replacements as needed rather than attempting to breed them.
Why do my Amano shrimp keep dying?
The most common cause of sudden, unexplained Amano shrimp death is copper. Check every medication, fertilizer, and water additive you’re using for copper content. Even trace amounts that fish tolerate without problems can kill shrimp. Other common causes include poor acclimation when first introduced, ammonia spikes, rapid parameter changes, and low GH leading to failed molts. Test your water parameters and review everything you’ve added to the tank recently.
Do Amano shrimp eat fish?
No. Amano shrimp are peaceful and will not harm healthy fish. They may scavenge a dead or dying fish, which is sometimes mistaken for predation. They’re safe with virtually any fish that can’t fit them in their mouth.
Why is my Amano shrimp lying on its side?
If the shrimp is pale or clear, it is probably molting or has just molted. The shed exoskeleton looks exactly like a complete shrimp but is hollow. If the shrimp is orange, pink, or gray, it is dead. A shrimp that is actively struggling on its side and appears to be stuck in its old shell is experiencing a failed molt, often caused by low GH or parameter stress.
Can Amano shrimp live with betta fish?
Sometimes, but not reliably. Individual bettas vary significantly in temperament toward shrimp. Some bettas ignore Amanos entirely; others hunt them persistently. A planted 10-gallon (38-liter) or larger tank with plenty of dense plant cover gives Amanos escape routes and reduces the risk. Observe carefully after introduction and have a plan to separate if needed. There is no guarantee of compatibility with bettas.
What algae do Amano shrimp eat?
Amano shrimp eat most types of soft algae: hair algae, thread algae, biofilm, and green spot algae (when it’s still soft and thin). They’re particularly effective on hair algae and biofilm on plant surfaces. They’re less effective on black beard algae and thick spot algae once it’s hardened. For black beard algae, liquid carbon (Seachem Excel) as a spot treatment combined with Amano shrimp gives the best results.
Are Amano shrimp hard to keep?
They’re intermediate difficulty. In a mature, stable planted tank with clean parameters, they’re low maintenance. The hidden demands are copper sensitivity (which can kill a colony silently), acclimation sensitivity, and GH requirements for healthy molting. The “easy cleanup crew” reputation undersells how specific their needs are. Get those three things right and they’re genuinely easy. Miss one and you’ll lose them without understanding why.
Closing Thoughts
Amano shrimp earn their reputation as the best algae eater in the freshwater hobby. In a properly set up planted tank, a group of ten or more working a 30-gallon (114-liter) aquarium is one of the most satisfying things in this hobby to watch. They don’t demand attention. They don’t cause problems. They just work, constantly, all day, on every surface in the tank.
The keys are straightforward: buy more than you think you need, check everything for copper, and drip acclimate when you add them. Get those right and Amano shrimp are genuinely one of the best investments you can make in a planted tank setup.
References
- Yamamoto, Y. and Hori, M. (2006). Taxonomic revision of the Caridina japonica species group. Crustacean Research.
- Stimpson, W. (1860). Prodromus descriptionis animalium evertebratorum. Proceedings of the Academy of Natural Sciences of Philadelphia.
- Zoological Society of Japan: Breeding biology study of Caridina multidentata. Available at zdw.zoology.or.jp
- Seriously Fish: Caridina multidentata species profile. seriouslyfish.com
- FishBase / Shrimp Database: Caridina multidentata (Stimpson, 1860). fishbase.org